Looking for all the supplies I use. Check out the links below or continue reading to hear my full reviews and why I recommend these products.
This blog post may contain affiliate links. This means that if you click on a link and make a purchase, I may receive a commission at no additional cost to you. However, all of the products I recommend are ones that I have personally used and loved.
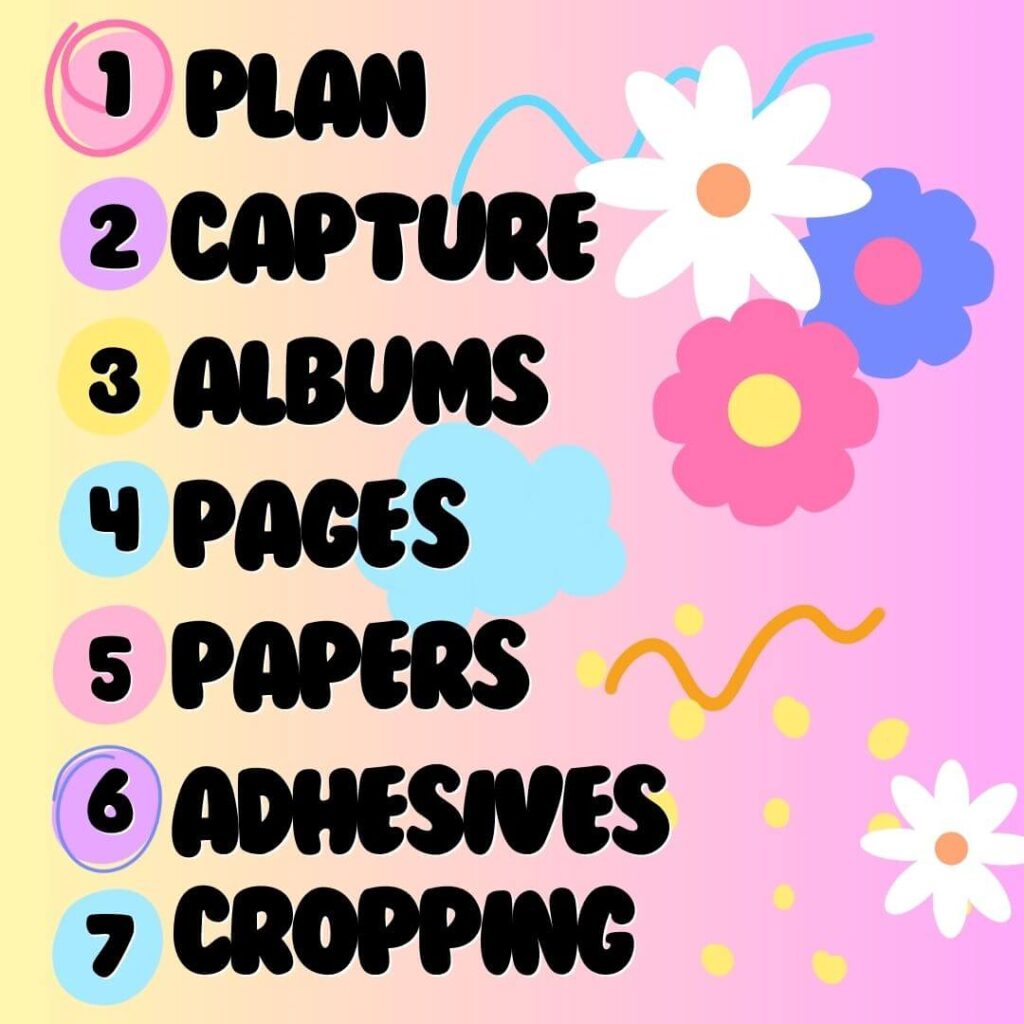
In this post, we’ll unveil 7 beginner-friendly scrapbooking steps to get you started. We’ll cover everything from theming and photo selection to essential supplies like scrapbooking albums, page protectors, decorative papers, adhesives, and cropping tools. So, grab your keepsakes and get ready to unleash your creativity – it’s time to embark on a sentimental journey through scrapbooking!
Now I want to be very clear at the start of this. There is no wrong or right way to scrapbook. That’s partially why I love it so much. What I can share with you is how I scrapbook and the tools and supplies I use.
My style of scrapbooking has dramatically changed over the years into the it’s current form. As my life (budget) and time I can dedicate to it have fluctuated, the style has matched it. That is all to say scrapbooking is an extremely adaptable hobby and truly anyone can do it. Our scrapbooks may look dramatically different but that doesn’t make them bad or good. It’s FUN. Can’t we just have fun!
Rant over.

1. Plan it out
The first thing you will need to scrapbook is a general plan of how you want your scrapbook categorized. For example, Scrapbooking is all about capturing those special moments, and for me, it’s an ever-growing collection of keepsakes..
Here’s how I approach it: I print out all my photos in my phone, and they become the stars of the show in my scrapbook. I try and put the photos in order of events
Since I print every phone pic, I sometimes end up with extras that don’t quite fit on a themed page. No problem! I just add them after a page into traditional photo album sleeves. This way every photo gets off my phone and I can and anyone can view every photo.
While this is my approach to everyday memories, I also create dedicated scrapbooks for special occasions and trips. For example, I have separate scrapbooks for my European trip to Spain, my wedding, and a girls’ getaway to Costa Rica. What will you scrapbook? Now that you’ve got a plan in mind, let’s move on to the practical steps!

2. Snap Happy: Capturing Memories for Your Scrapbook
Alright, aspiring scrapbookers! Before you dive headfirst into gathering keepsakes, let’s make sure you have a steady stream of memories to document. This means getting out there and taking pictures! Once your friends and family catch wind of your scrapbooking passion, you might just hear, “Wait, let’s get a picture for your scrapbook!” on repeat.
But photos aren’t the only stars of the show. Don’t forget to collect tangible keepsakes that add another layer of storytelling. Think ticket stubs, programs, menus – anything that sparks a memory from the event. Fun fact: I think just about a month into dating my husband he would hand me any ticket stubs from dates and say “Here I saved this for your scrapbook” (and yes I knew he was a catch the moment he did that).
Now that you’ve got a treasure trove of photos and mementos, it’s printing time! There’s no one-size-fits-all approach here. Your local pharmacy likely still prints photos, but don’t be afraid to shop around for the best price and format for your needs. Places like Walmart, Sam’s Club, Snapfish App, and Shutterfly App are all great starting points.

3. Albums: Finding Your Perfect Scrapbook Home: Size and Style
Alright, scrappy friends! Now it’s time to find the perfect album for your masterpiece. This might seem basic, but trust me, choosing the right one upfront will save you a headache later.
Size Matters, But Not That Much
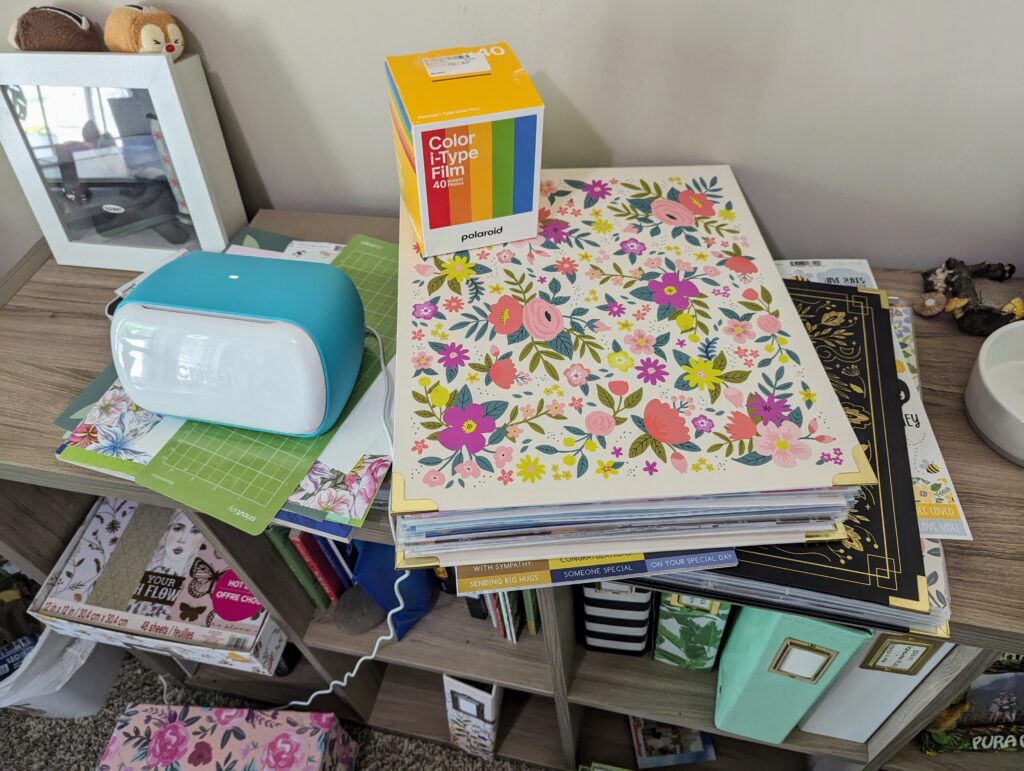
Traditionally, scrapbooks come in a mighty 12×12 format. Why? Because it lets you fit six glorious 4×6 photos on a single page. Anything smaller, and I find myself wrestling to make photos fit just right. But hey, it’s your scrapbook! If a smaller size speaks to you, go for it. Just choose your album before you get too deep into creating, that way you have a safe space for your artwork and everything fits together nicely.
Picking the Perfect Style
Now, let’s talk about the different types of scrapbooks out there.
- The Simple Starter: Empty Notebook. This is the ultimate in easy-breezy. You skip the whole page protector thing, but that also means your precious photos are exposed to sticky fingers and the ravages of time. I personally did this approach when I was younger. It’s a great starting point.
- The Pretty Perfect (But Limited): Post-Bound Album. These albums boast a gorgeous look, and those full-spread pages give you a seamless viewing experience. But there’s a catch: they can only hold so many pages before they get overloaded. So, they’re ideal for smaller, focused projects like a single event.
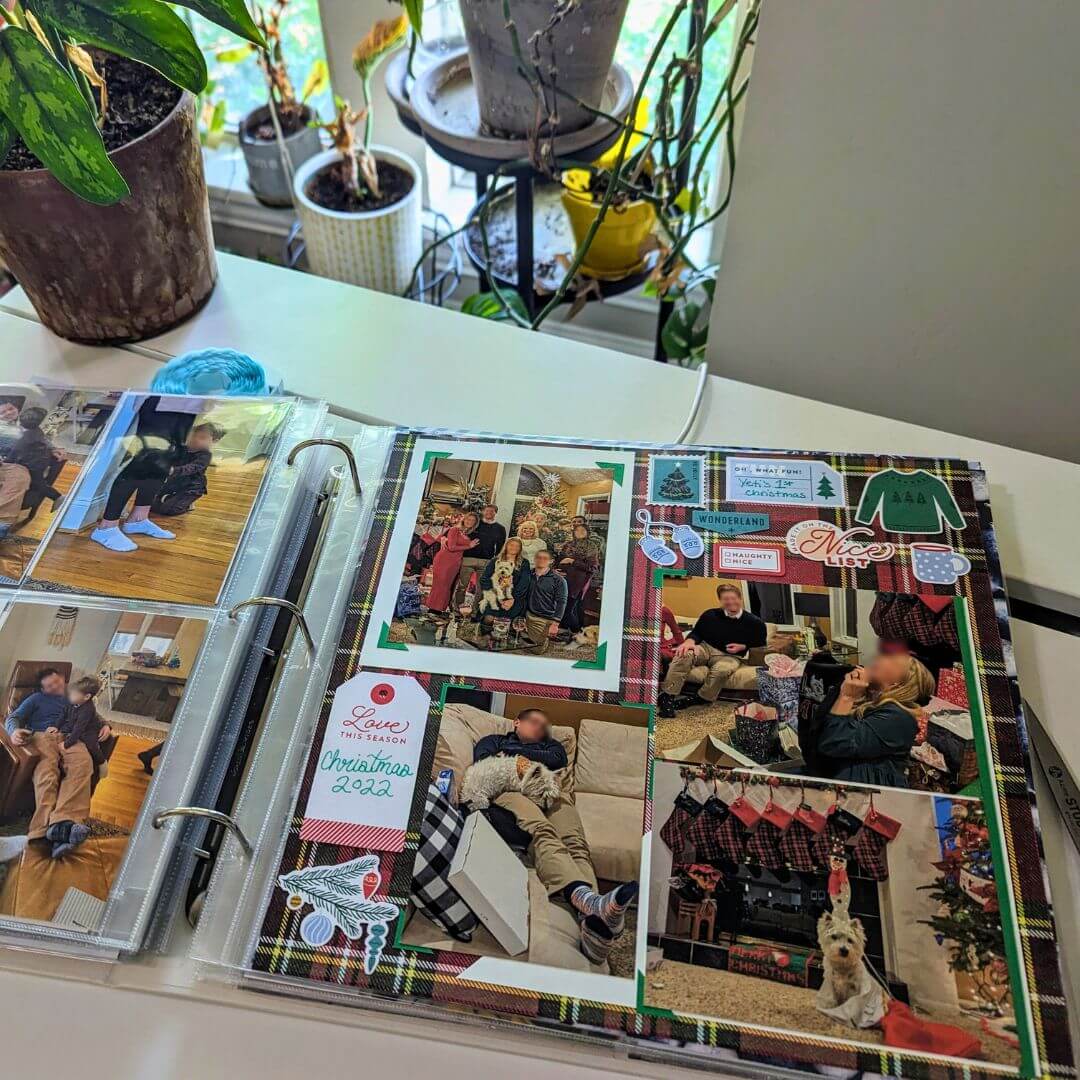
- My Ride-or-Die: The 3-Ring Binder. This is my current love affair, and for good reason! These binders offer ultimate flexibility. You can add or remove pages as needed, making them perfect for us scrapbookers who can’t resist adding “just one more photo.” Plus, they hold a ton of pages, which is a dream come true for someone like me who is an avid scrapper!

4. Page Protectors: Your Photos’ Best Friends
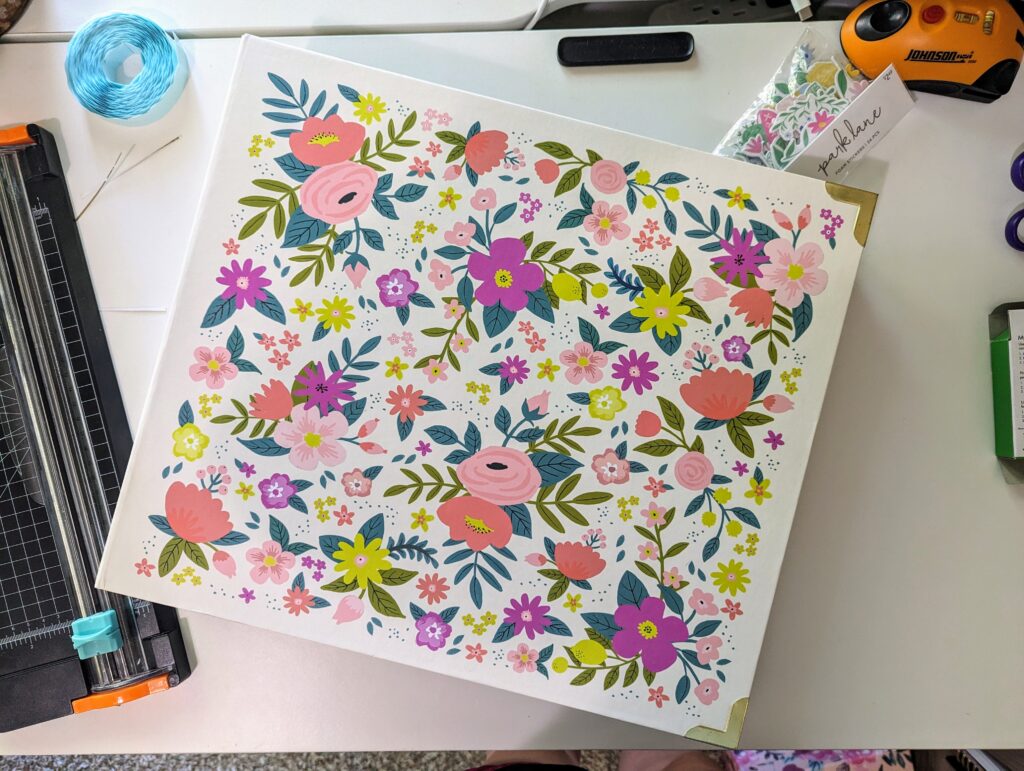
Alright, so you’ve selected your album. Unless you picked the notebook album that means page protectors are your new best friends. These are the clear plastic sleeves you’ll slide your finished masterpieces into, keeping them safe from sticky fingers and enthusiastic hugs.
Here’s the beauty: there’s no single “right” choice. As long as the protectors match your album size, you’re good to go. My biggest tip? Pick a brand that offers easy refills. Trust me, speaking from experience, switching brands halfway through a scrapbook can lead to a bit of a mismatched mess. But hey, that’s part of the scrapbook charm, right? A little messy, a lot of love!

5. Paper Paradise: Choosing the Perfect Palette
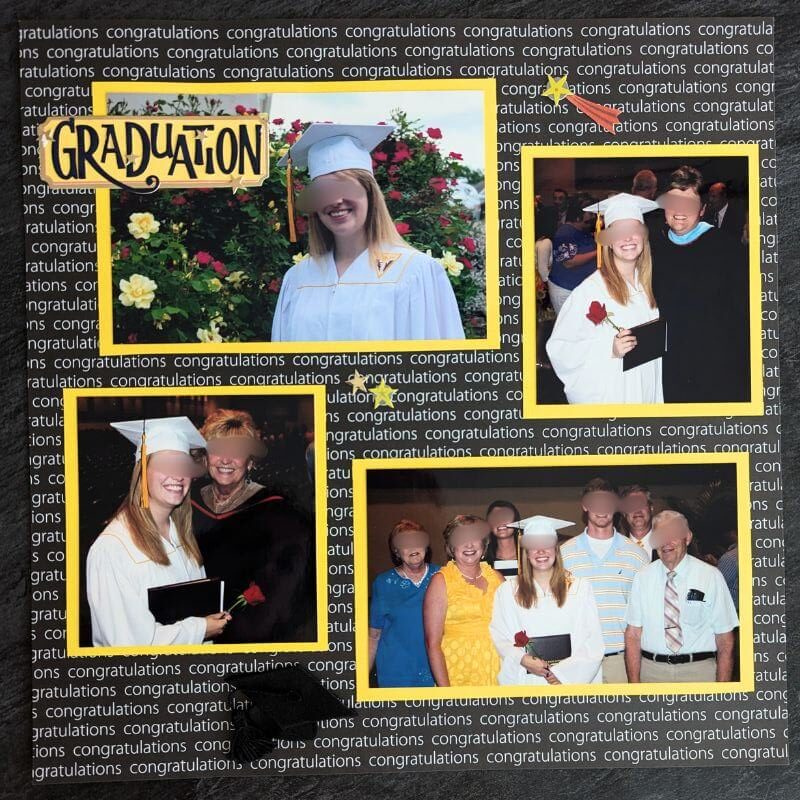
Alright, enough logistics chatter! Let’s get to the fun part – unleashing your inner artist with paper! Head to your local craft store and prepare to be dazzled. You’ll find aisles (sometimes even two!) overflowing with scrapbook paper in every color and pattern imaginable.
But wait, there’s more to paper than just good looks! If you’re scrapbooking for the long haul (think preserving memories for future generations), then ditch the construction paper and opt for scrapbook paper specifically. Here’s the secret weapon: scrapbook paper is “acid-free.” This fancy term basically means it won’t turn those crisp whites and vibrant colors into a dull yellow over time. No one wants their memories to fade, right?
Now, onto the fun stuff! You can choose individual sheets to match your specific vision, or you can grab a paper pack. These packs are awesome because all the papers coordinate beautifully, saving you the swatching time. Plus, they often come with themed designs, perfect for those specific occasions you’re scrapbooking.

6. Sticking to Your Vision: Adhesives
Alright, we’ve got the perfect album, page protectors, and a paper playground to unleash your creativity on. But how do you get those photos and embellishments to stay put? The answer, my friend, is adhesive! And let me tell you, there’s a whole world of sticky goodness out there.
Every scrapbooker has their favorite weapon of choice, and here’s the beauty: you get to find yours! Just like with paper, keep an eye out for that “acid-free” label. That regular glue stick or tacky glue might seem convenient, but over time, it can actually damage your precious memories. Yikes!
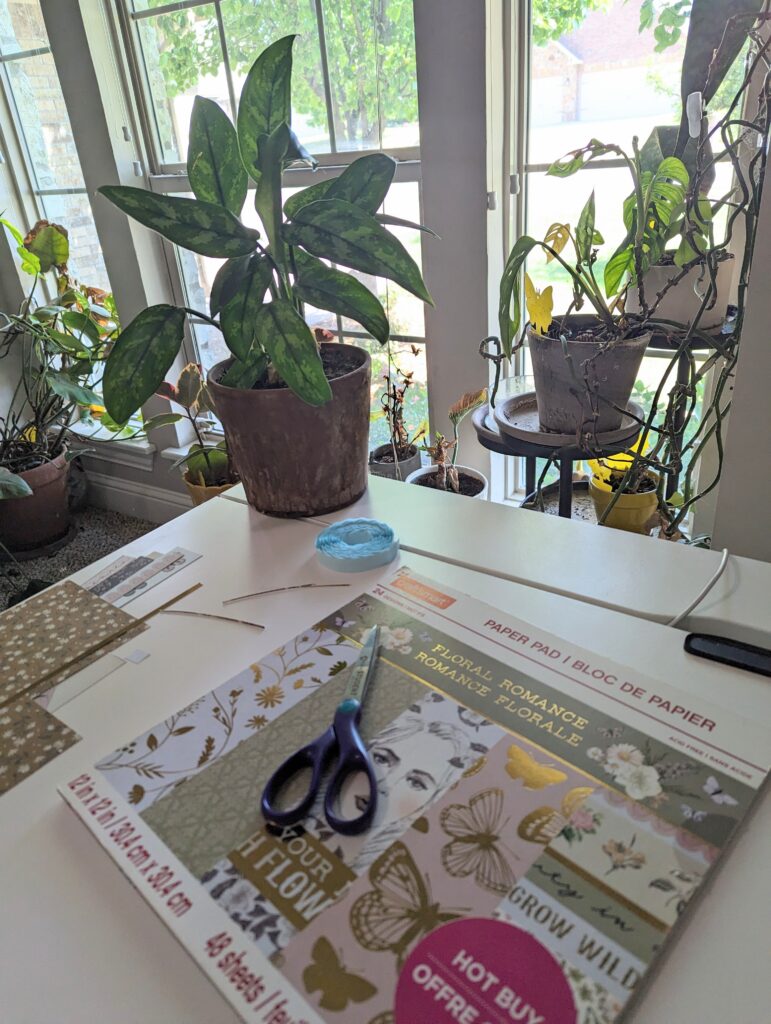
Personally, I’m a huge fan of photo adhesive squares. They’re fast, easy, and hold everything in place perfectly. But hey, sometimes even the best tools need backup. That’s where my handy dandy acid-free glue stick comes in. It’s perfect for those little tricky spots or when you need a more precise application.
So, experiment a bit and find the adhesive that works best for you and your scrapbooking style!

7. Snip, Snip, Crop Crop: Essential Cutting Tools
Now comes the fun part: trimming and cropping your photos to perfection! But before you unleash your inner Michelangelo, let’s talk tools.
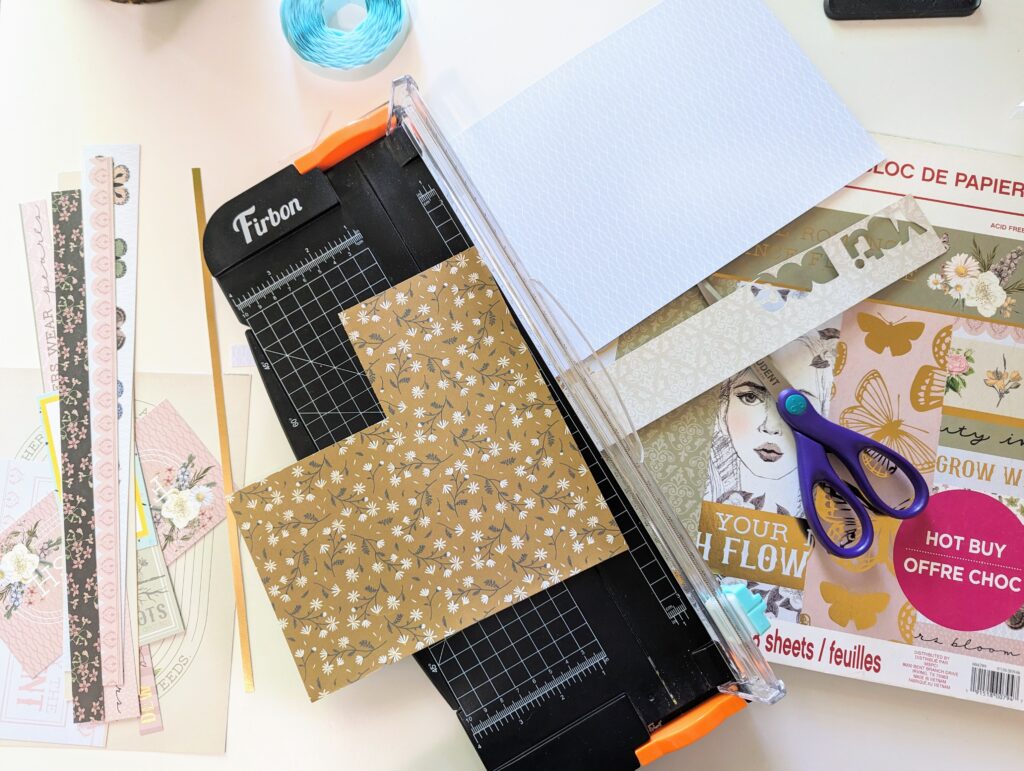
The number one weapon in any scrapbooker’s arsenal? A good pair of trusty scissors. The good news is, unlike with adhesives and paper, there’s no magic formula here. Any sharp pair of scissors will do the trick.
However, if you’re looking to up your game (and who isn’t!), consider investing in a paper trimmer. These handy tools offer straight-line cutting magic, perfect for those precise photo borders or creating clean-edged embellishments from patterned paper. I call mine a Slice and Dicer (remember I started scraping when I was 12)
So, grab your scissors (or for the extra-fancy folks, a paper trimmer!), and get ready to transform your photos into scrapbooking masterpieces!
And That’s a Wrap!
There you have it, scrappy friends! Everything you need to get started on your very own memory masterpiece. Remember, as with any creative pursuit, perfection isn’t the goal. It’s about having fun and letting your creativity flow.
Looking back on my own scrapbooks, I see pages that fill me with pride and others that make me chuckle (yup, that was definitely a 12-year-old’s handiwork!). But the beauty is, they’re all mine, each one a snapshot of a cherished memory.
And that, my friends, is the true magic of scrapbooking. It’s a way to preserve your experiences, a chance to relive them years later with a single glance. So much more impactful than a random collection of lost photos on a forgotten phone.
So, grab your supplies, unleash your inner scrapbooker, and get scrapping! And hey, if you’re ever looking for inspiration, be sure to check back for some peeks at my own pages. Happy Scrappin!
Now that you’re all prepared check out some fee printables to get your started or check out more simple scrapbook page inspo

One response to “Preserve Your Memories for Generations: Learn How to Scrapbook”
[…] Beginners […]