This blog post may contain affiliate links. This means that if you click on a link and make a purchase, I may receive a commission at no additional cost to you. However, all of the products I recommend are ones that I have personally used and loved.
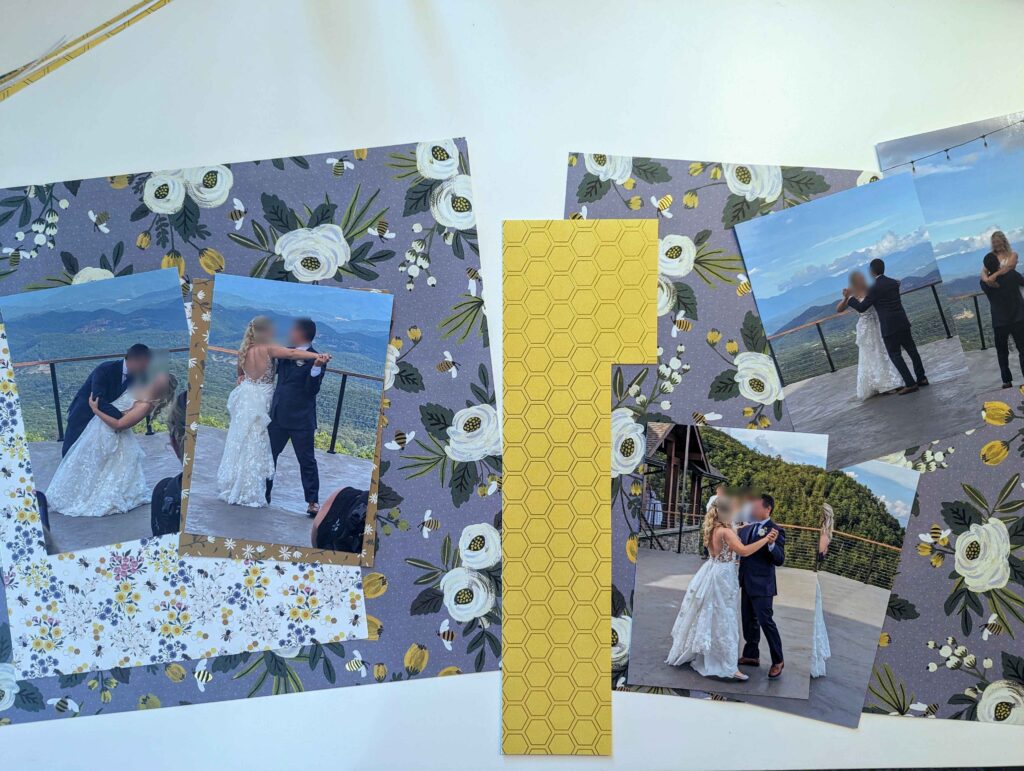
Hey Scrappers! Today, we’re diving back into the world of wedding memories with a brand new Wedding Scrapbook idea, this time featuring a special moment close to every couple’s heart: the first dance!
Double the Fun: Splitting Up Your Wedding Scrapbook
As a scrapbooker at heart, I knew I’d be knee-deep in crafting after the wedding! My friends and family were fantastic – they snapped tons of pictures throughout the day, knowing I’d love them for scrapbooking. But this delightful problem arose: I had an abundance of amazing photos!
To best preserve these memories, I decided to split them into two scrapbooks.
- The Classic Collection: This elegant album features all the professional photos taken by our wonderful photographer. I envisioned a timeless look, so I kept the layouts simple and used mostly white cardstock.
- A Burst of Color: My second scrapbook bursts with vibrant colors, reflecting our wedding palette and the fun bee theme we incorporated throughout the day. This album features all the candid photos shared by our loved ones.
Today’s layout, showcasing the joy of our first dance, is from this second, colorful scrapbook!
Taking the Floor with Confidence: The Power of Dance Lessons
Let me tell you, taking dance lessons before the big day was one of the best decisions we made! It not only boosted our confidence on the dance floor, but it also opened the door to some incredible photo opportunities – all thanks to the graceful lifts and twirls we learned. Let’s just say I had a lot of amazing photos to choose from after the wedding!
It turns out, my husband is a natural on the dance floor. Our instructor kept raving about his hidden talent, and it all clicked – his years of playing football had definitely translated into impressive dance moves!
Not to mention, this became such a fun thing for us to do on weekends. There’s nothing more fun than having the man you love being ridiculous and laughing as you step on each other’s toes. It definitely added to the anticipation of the big day!
Creating a Cohesive Spread: Bridging the Pages
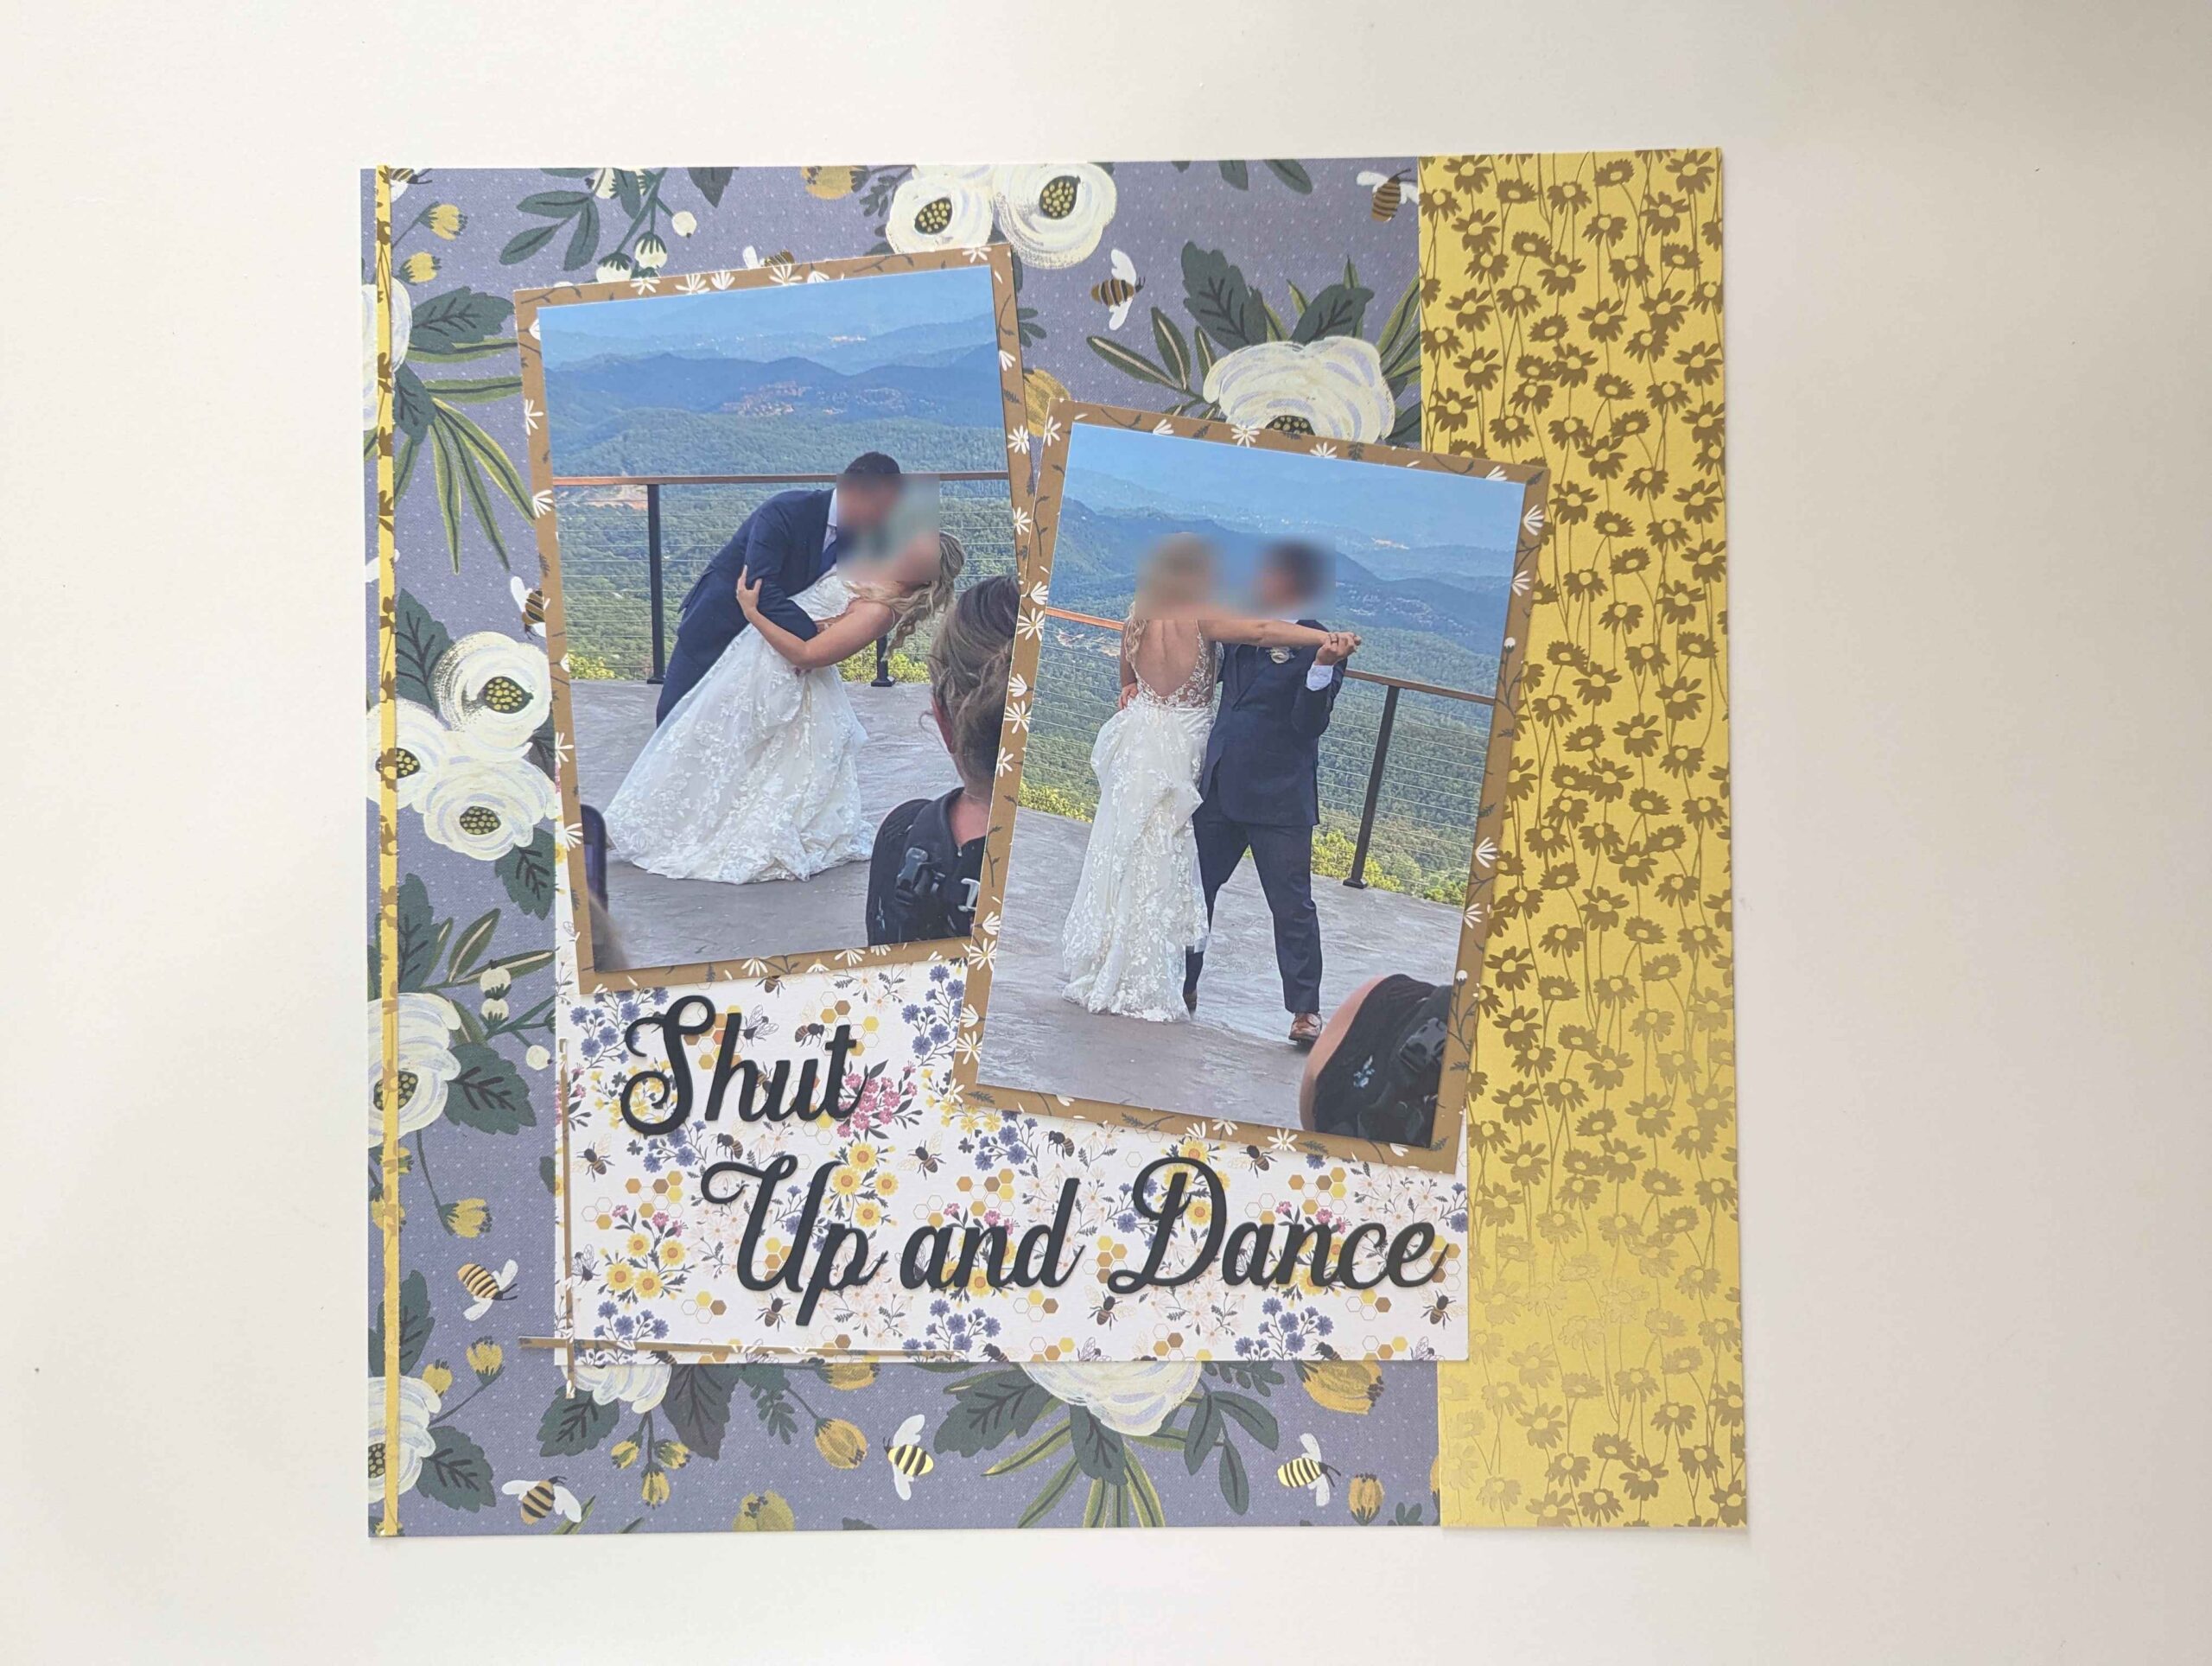
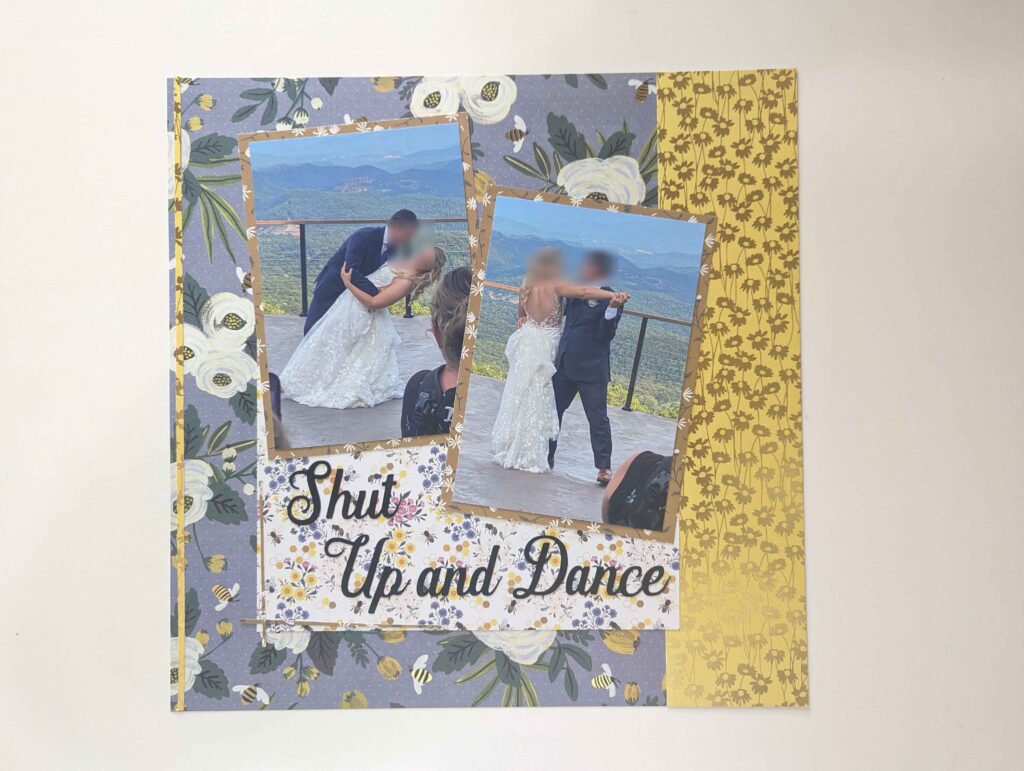
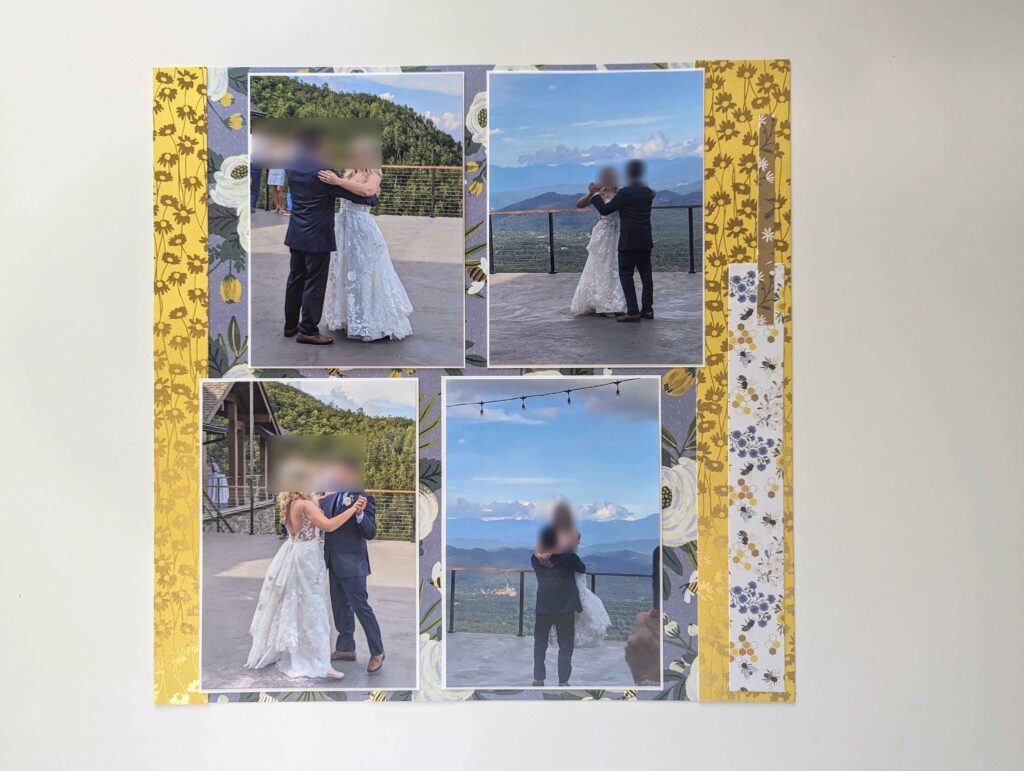
For this two-page spread in my wedding scrapbook, I wanted to ensure a seamless flow between the pages, creating the illusion of one continuous layout. To achieve this, I incorporated the yellow stripes that extend across the center fold, effectively bridging the gap between the two scrapbook pages.
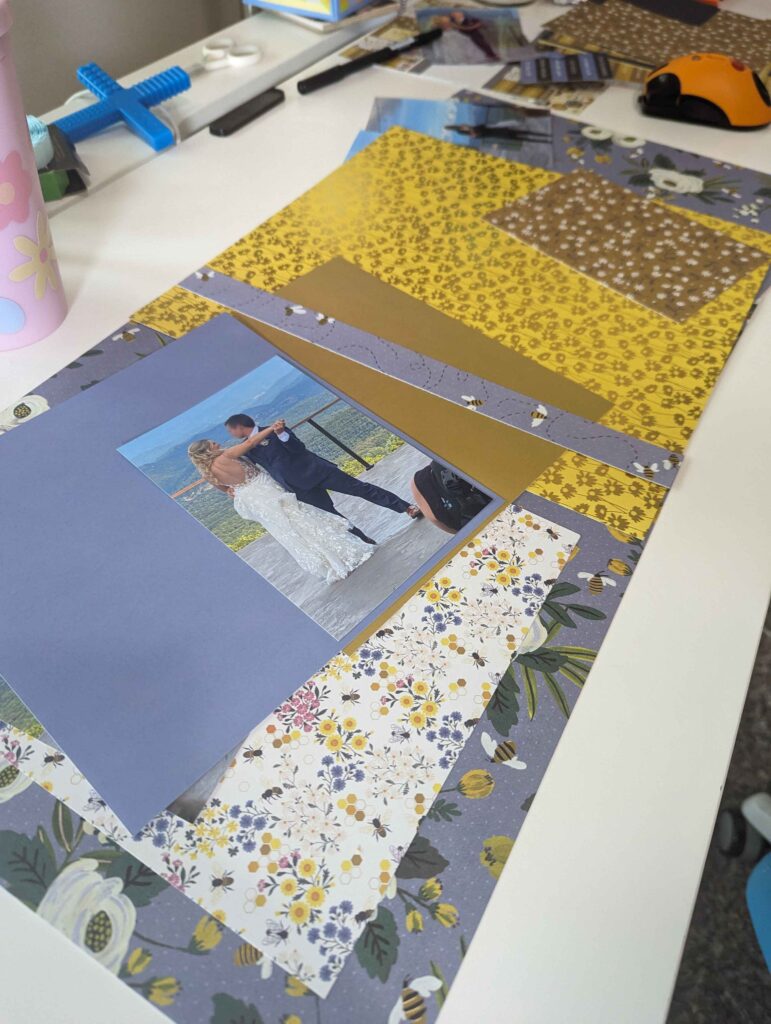
Next, I wanted to create a layout that captured the full essence of our first dance – both the key moments and the smaller details. To highlight some of my favorite moments, I nestled two standout photos on beautiful photo mats. These “hero” shots instantly grab your eye and set the stage for the rest of the layout.
Then, I surrounded them with a carefully curated selection of additional photos, maximizing the space to tell the whole story. With so many amazing memories to capture, I opted for a photo layout that maximized space. This allowed me to weave a visual story of our first dance, showcasing all the joy and emotion of the moment.
The Cricut Joy Cuts the Cake (Well, Not Literally)
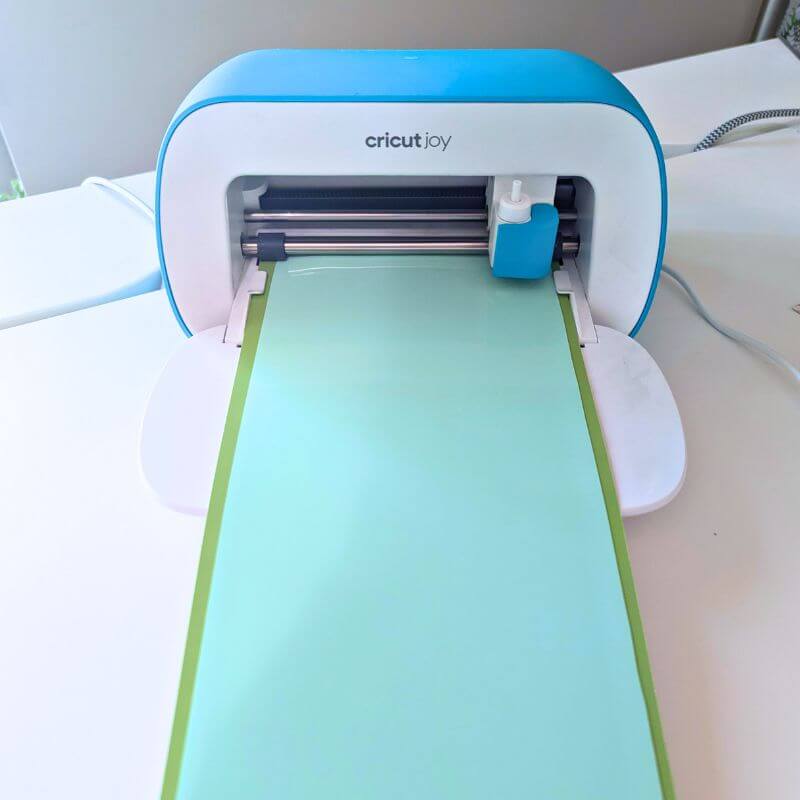
And of course, no layout is complete without a little personal touch! To add some extra flair, I used my trusty Cricut Joy to cut out the lyrics to our first dance song: “Shut Up and Dance” by Walk the Moon.
I absolutely love my Cricut Joy! Like many of you, scrapbooking runs in the family – my mom actually bought one of the very first Cricut machines that came out. Back then, we thought it revolutionized scrapbooking, and honestly, it kind of did! But let me tell you, Cricut’s latest machines are on a whole other level.
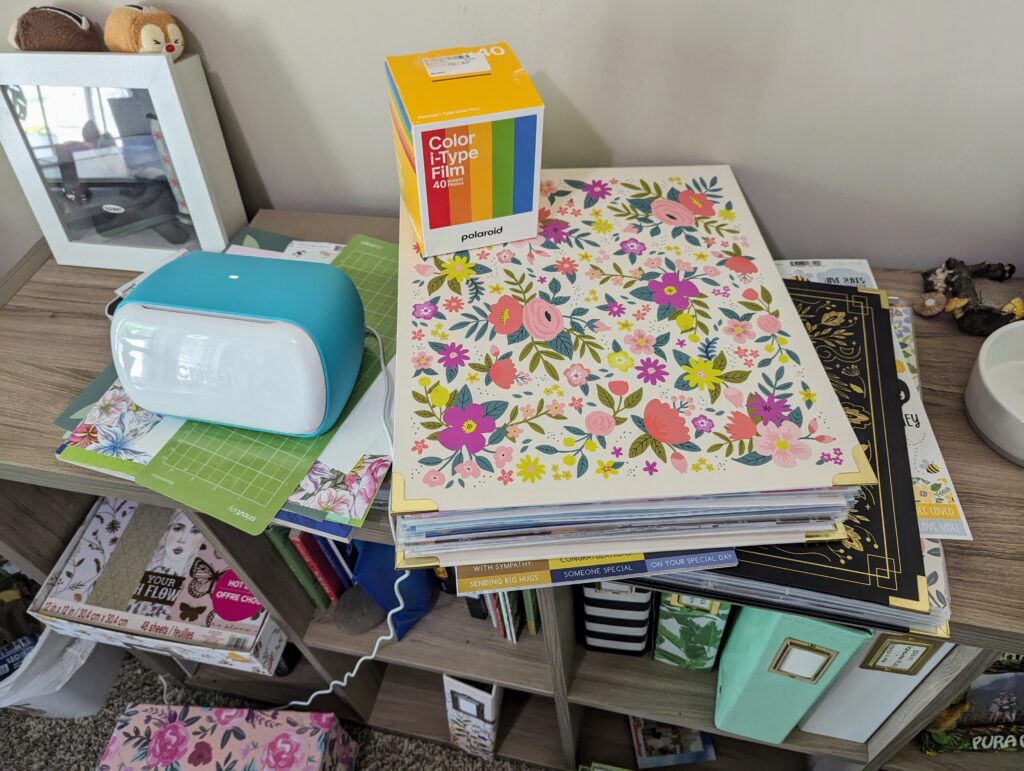
Cricut Joy: The Mighty Little Machine That Could
Now, I know I mentioned getting the Cricut Joy, the smallest machine in Cricut’s current lineup. When I was first researching which machine to get, I came across tons of reviews steering me towards the bigger, more expensive options. People were saying the Joy wasn’t worth it, that I ‘needed’ a more versatile machine. But after reading about all the features, my heart was set on the Joy.
Fast forward a year later, and I’m here to tell you – the Cricut Joy is a scrapbooking dream! Those reviewers must have been using it for something else entirely, because for a scrapbooker like me, it cuts everything I need: titles, embellishments, you name it! It’s the perfect size for creating custom touches without overwhelming me with features I don’t need.
So, if you’re looking for a user-friendly and affordable way to elevate your scrapbook projects, the Cricut Joy might just be your perfect match.
Ready to Get Started? Here’s What You’ll Need:
- Two-page scrapbook layout
- Photos from your first dance
- Cardstock in various colors (to coordinate with your wedding colors and your chosen photos)
- Cricut Joy cutting machine
- Cutting blade (compatible with your Cricut Joy)
- Cricut Design Space software (for designing your custom cutouts)
- Adhesive (such as photo safe glue or a mounting squares)
- Embellishments (optional)
- Title stickers (optional)
- Journaling pen
Let’s Get Scrapbooking!
- Plan Your Layout: Before diving in, sketch out a two-page layout to determine the placement of your photos and embellishments.
- Prepare Your Photos: Choose your favorite photos from the first dance. Consider using a variety of sizes and orientations to add visual interest.
- Mat Matters: Cut your cardstock into photo mats in various sizes and colors. Here’s where you can get creative and play with patterns and textures!
- Bridging the Gap: To create a cohesive spread, use some of your cardstock to create photo mats that extend across the center fold of your scrapbook layout.
- Let Cricut Joy Do the Work! Using Cricut Design Space, design and cut out the lyrics to your first
Ready to get scrappy? Browse more scrapbook inspiration below, or if you’re just starting out, check out my beginner’s guide for a jumpstart! Happy crafting!
