This blog post may contain affiliate links. This means that if you click on a link and make a purchase, I may receive a commission at no additional cost to you. However, all of the products I recommend are ones that I have personally used and loved.
Planning a bachelorette bash? It’s no secret that bachelorette parties are all about celebrating the bride-to-be with unforgettable experiences. But amidst the excitement, those little details like Bachelorette DIY favors and Bachelorette Favors can add a special touch that your girl squad will love.

I recently threw an epic bachelorette party, and while the fun activities and wild memories were the main course, I found myself obsessing over the cute little extras – you know, the Bachelorette DIY touches that make the occasion even more special.
The best part? Most of the favors I created were crafted with super affordable finds from Amazon! Today, I’m spilling the beans on how I brought my bachelorette favor vision to life, with a focus on easy DIY projects that anyone can create.
So, grab your crafting bestie, put on some Beyoncé, and let’s get started! We’ll be showing you how to create affordable and adorable Bachelorette Favors with just a few simple steps.
Cricut Joy: The Perfect Partner for Budget-Friendly DIY
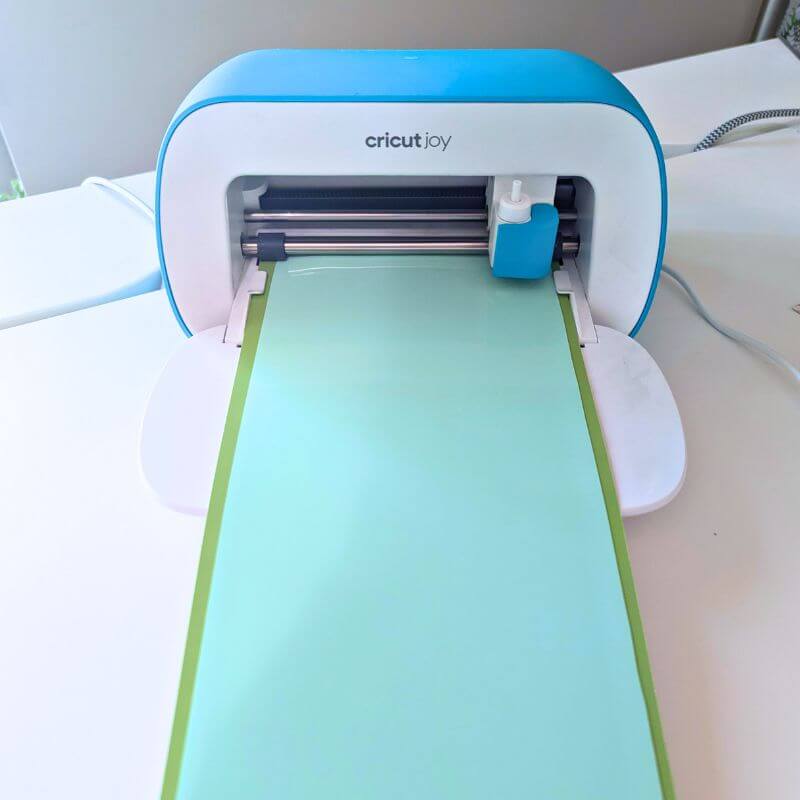
For all my crafty bachelorettes out there (and those planning DIY projects for your wedding or future getaways!), let me sing the praises of the Cricut Joy.

When I first dove into Cricut research, reviews seemed to push me towards the bigger, pricier machines. People said the Joy wasn’t powerful enough, that I “needed” a more versatile option. But after digging deeper into the features, my heart belonged to the Joy.
Fast forward a year, and I’m here to tell you – the Cricut Joy is a total game-changer! Unless you plan on using the print-and-cut function or tackling chunky materials like wood or thick acrylic, the Joy is all you need. Everything you see on this blog made with a Cricut was created with this little powerhouse!
Bachelorette Tumblers: The Must-Have DIY Accessory (with Cricut Joy!)
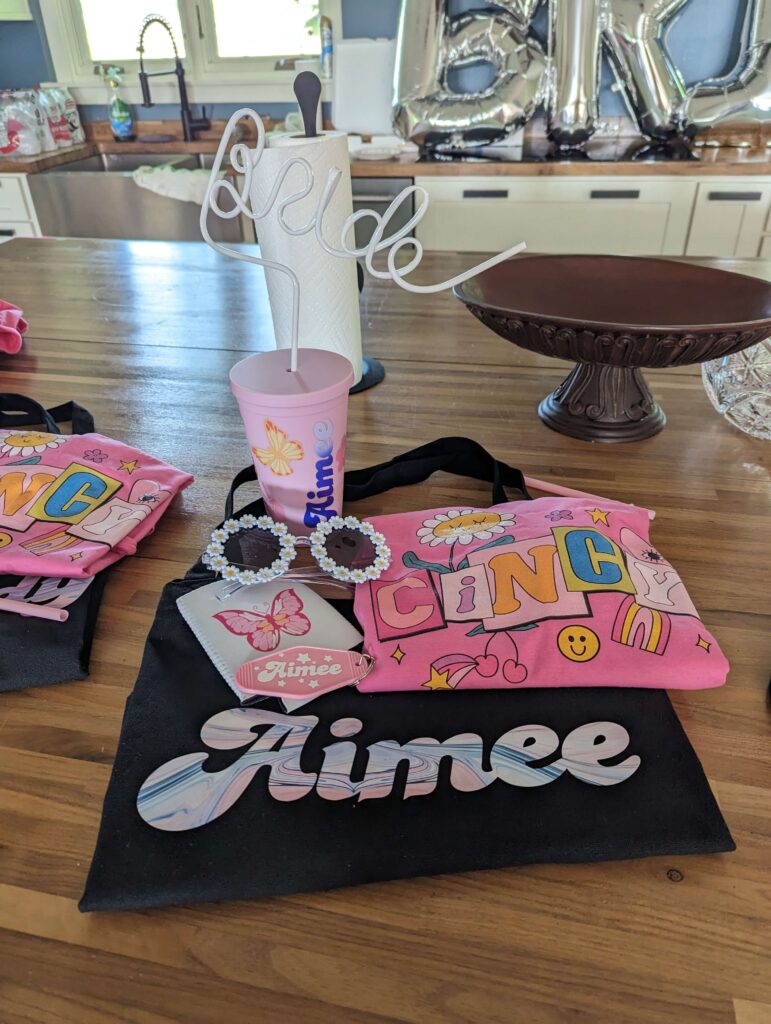
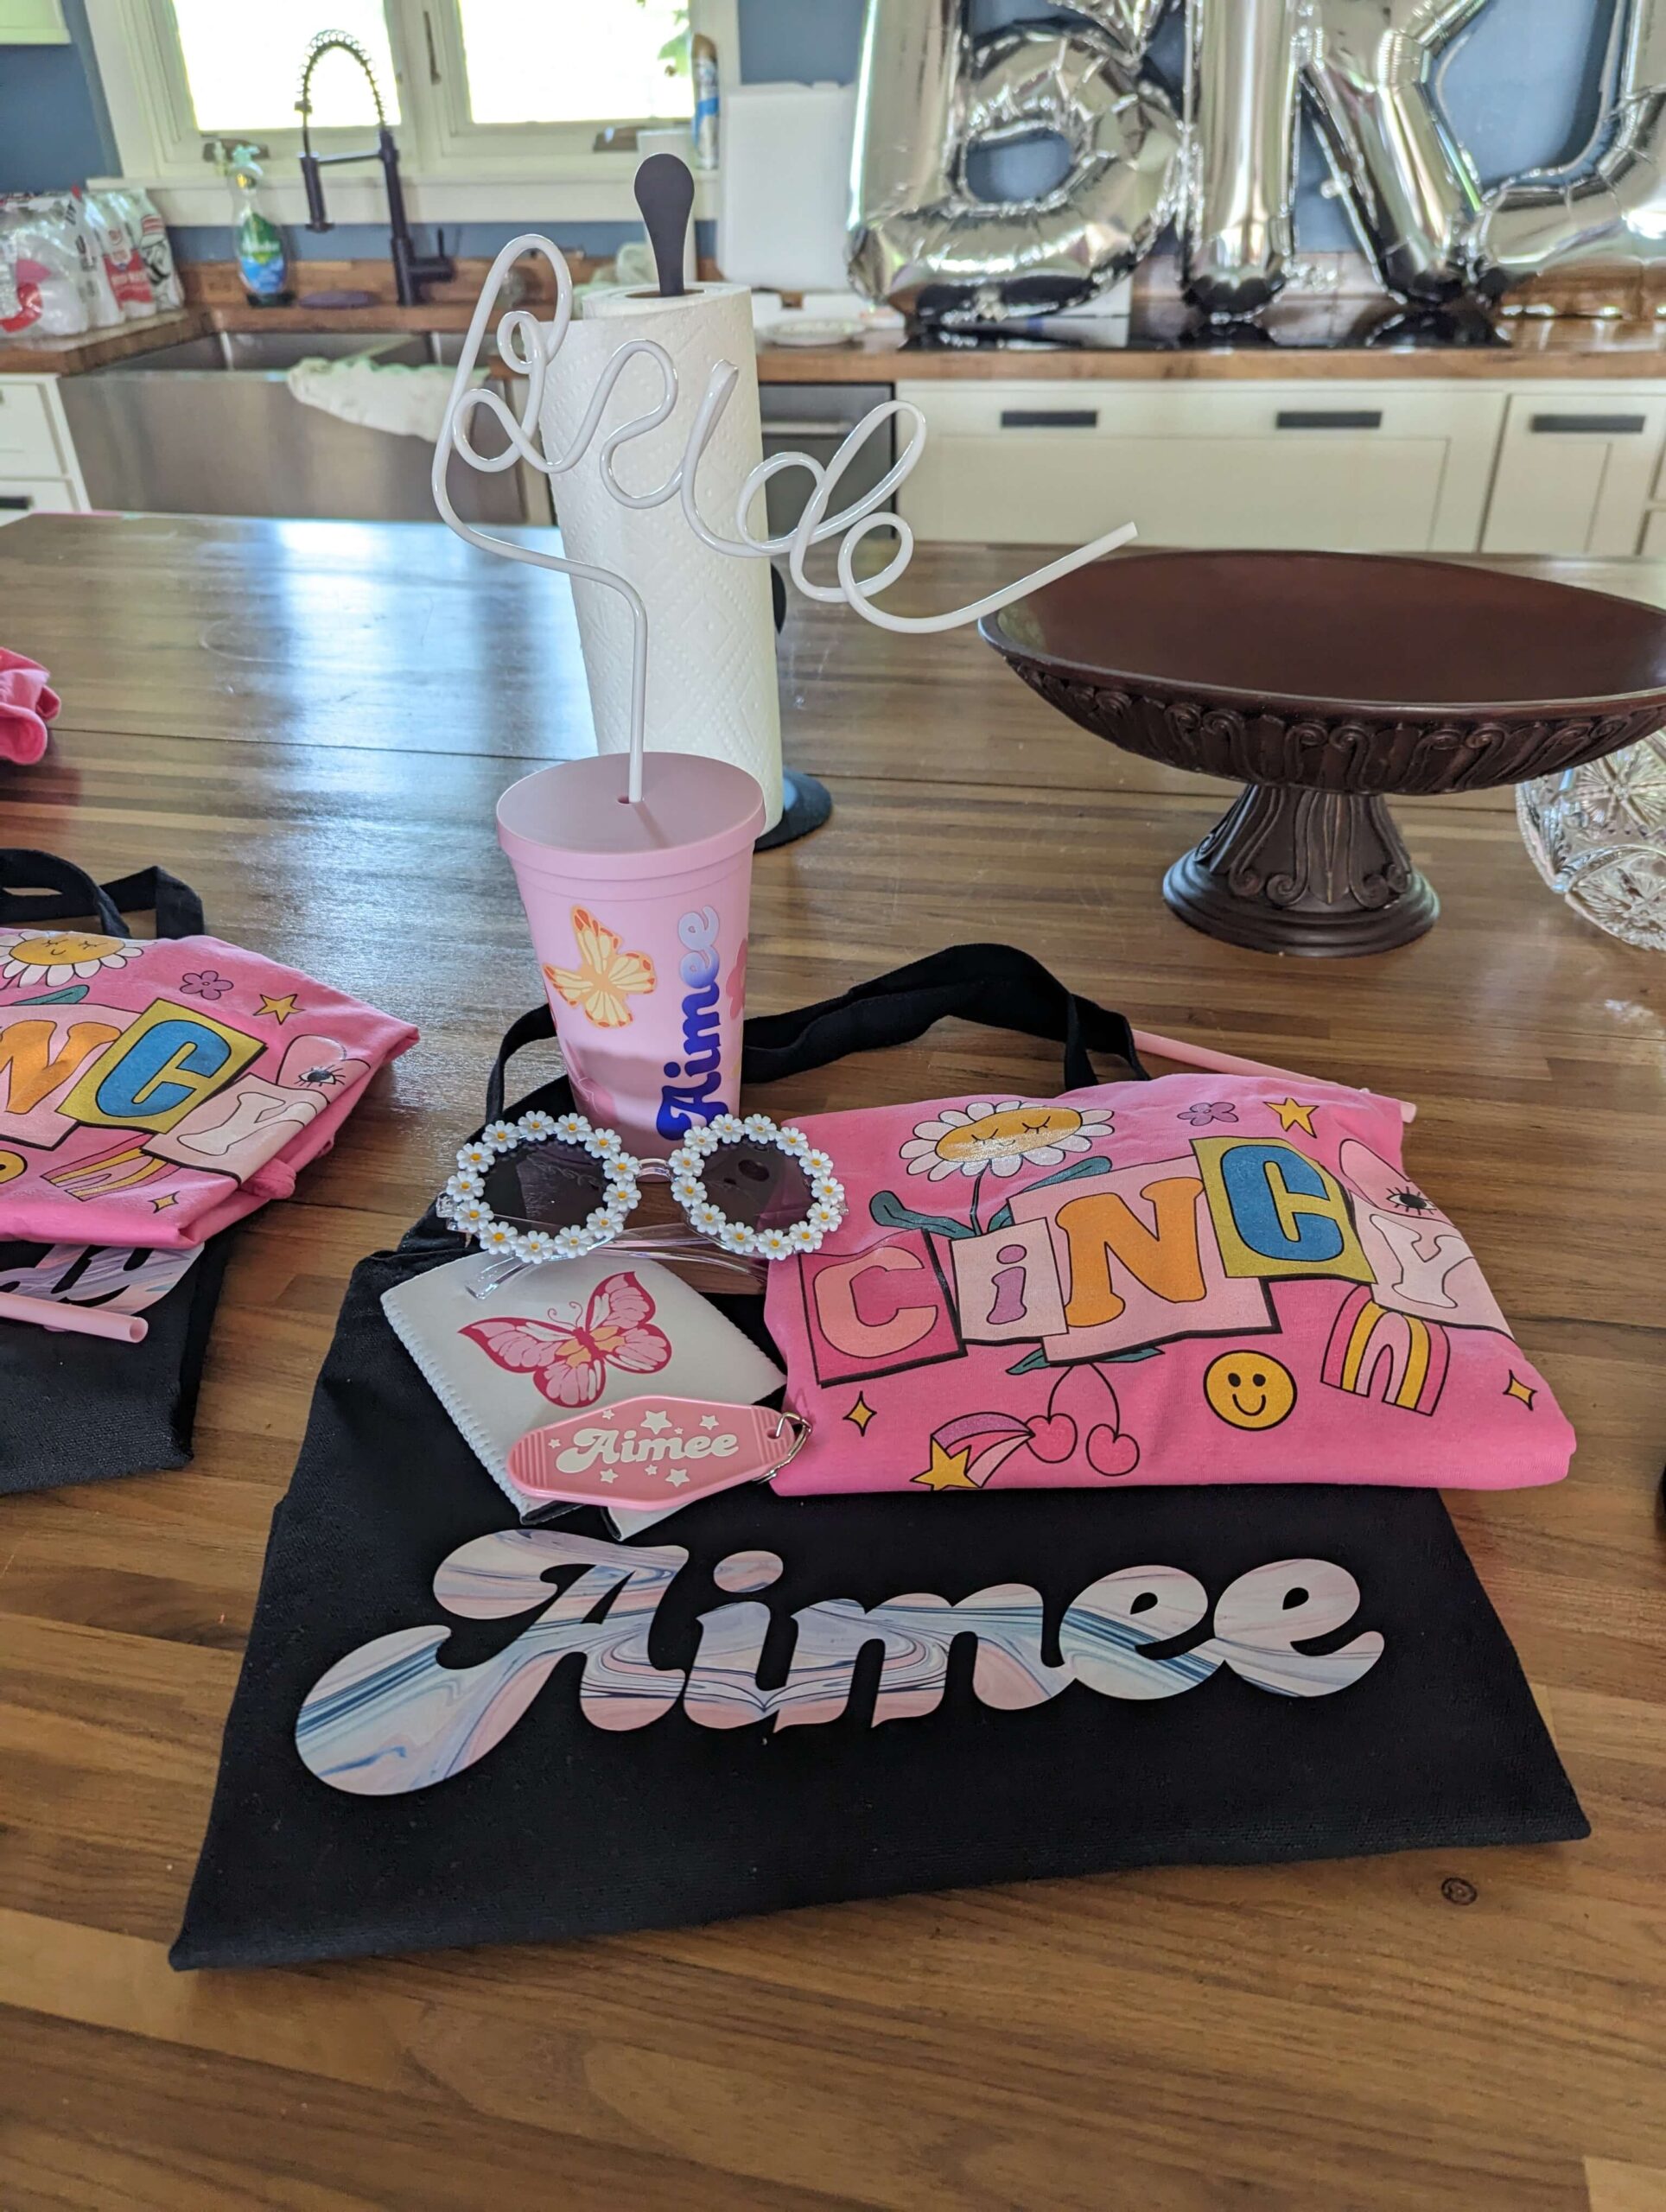
No bachelorette bash is complete without a squad rocking personalized tumblers! These cuties not only keep your drinks cold all night long, but they also serve as an adorable souvenir for your girls to remember the epic weekend. The best part? Making them is surprisingly easy, thanks to the magic of the Cricut Joy (and yes, I whipped these up myself!). So, ditch the expensive online searches and get ready for a fun, budget-friendly DIY project that’s guaranteed to have your squad squealing with delight.
Step 1: Prep Your Canvas – Hunt for the Perfect Tumbler!
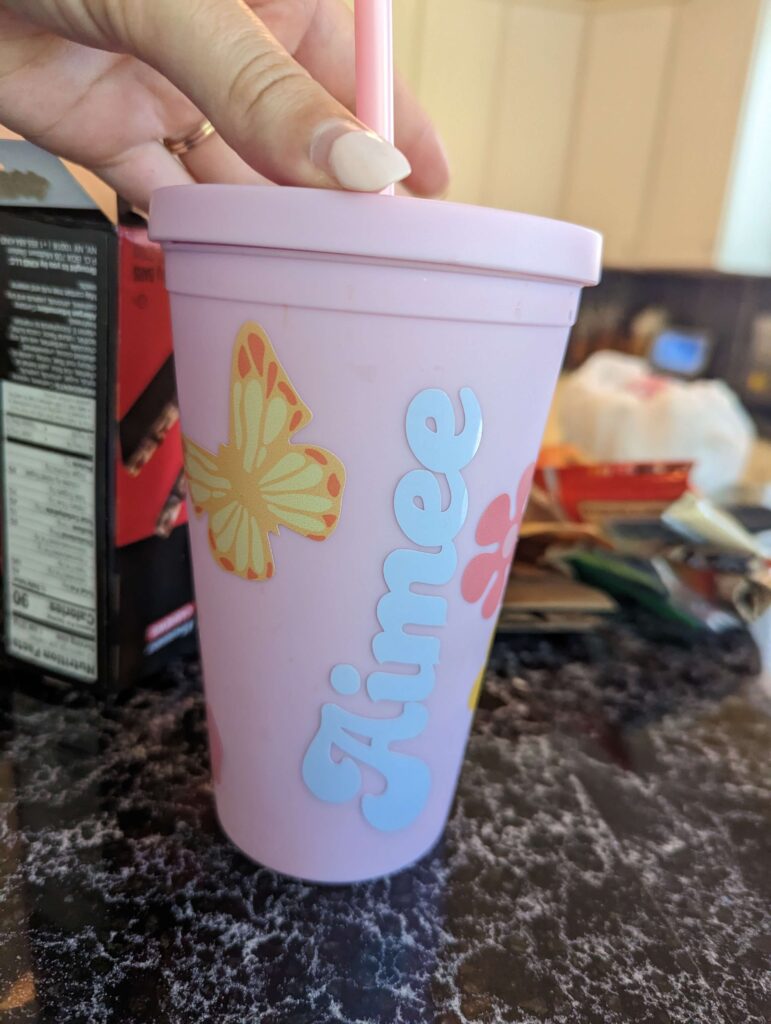
The first step is finding the perfect blank canvas for your masterpiece. Hit up your local craft store or browse online marketplaces like Amazon. In this case, I fell in love with these adorable pink tumblers (check out the affiliate link below!). They came in bulk at a fantastic price, and there were even extras for a surprise “Mom-to-be” tumbler! Choose a color and style that matches your bachelorette theme, or go wild with a mix and match approach. Remember, these are your DIY creations, so get creative!
Step 2: Cricut Joy Cuts to the Rescue! – Personalize with Names
Now that you have your tumblers, it’s time to personalize them with each girl’s name. This is where your trusty Cricut Joy comes in! Head over to Cricut Design Space and choose a font that complements the overall vibe of your bachelorette party. For a touch of whimsy, I used a script font with a slight swirl.
Here’s a pro tip for long names: don’t waste time meticulously transferring individual letters! Instead, try “welding” the letters together in Cricut Design Space. This creates one larger vinyl decal with all the letters connected, making the transfer process a breeze.
Step 3: Personalize & Shine! – Add Fun Stickers and Details
The “hard” work is done! Now comes the fun part – decorating your tumblers with all sorts of embellishments! I found a fantastic selection of bachelorette-themed stickers on Amazon that perfectly matched my pink and gold color scheme. Think hearts, stars, sunglasses, palm trees – anything that screams “girls’ getaway!”
Bonus Tip: Want to take your tumblers to the next level? Consider using a cool color-changing vinyl for the names! These add an extra element of surprise and fun. Imagine your girls’ delight as their names magically change color with a cold drink.
The Final Touches:
Once you’ve added your stickers and vinyl decals, take a moment to admire your personalized creations! Feel free to add finishing touches like glitter glue or small charms to truly make them your own.
With a little creativity and the help of your Cricut Joy, you’ve just crafted the perfect bachelorette accessory. Now, get ready to pop open some bubbly, fill your tumblers, and celebrate the bride-to-be in style!
The Bachelorette Tote: A Stylish and Functional Favor with Cricut Joy
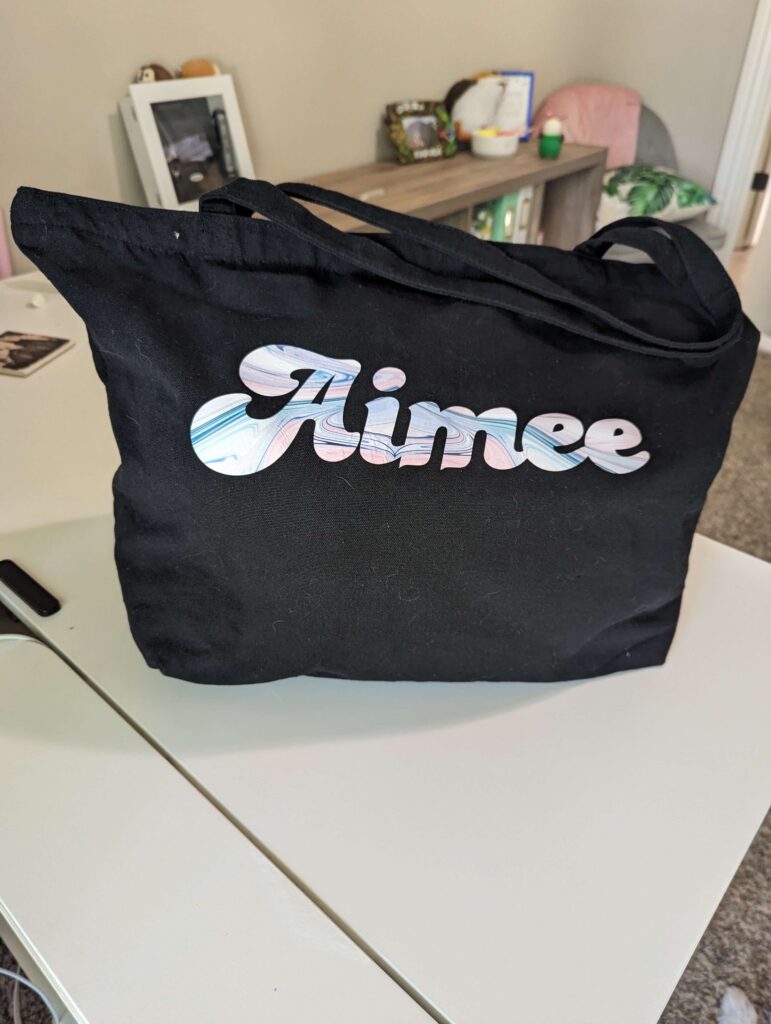
The tumblers are a fantastic start, but a well-rounded bachelorette party favor needs a little more! This is where the tote bag comes in, and guess what? The Cricut Joy is here to help you create these cuties once again. In fact, these personalized tote bags might just become the crowning jewel of your favor selection (they were a huge hit at my party!).
Beyond the Party: A Keepsake They’ll Love
The beauty of these tote bags goes beyond the bachelorette bash itself. They’re spacious and functional, with a large zipper closure that keeps everything secure. This means your girls can use them throughout the weekend for carrying essentials, and even take them home as a keepsake to remember the epic bachelorette celebration.
Imagine the next time they head to the gym or the beach, they’ll have a stylish reminder of the unforgettable weekend with the bride-to-be. Plus, at the end of the wedding day, returning everyone’s belongings becomes a breeze thanks to these personalized totes!
DIY Tote Bags: Easy Elegance with Heat Transfer Vinyl
Creating these tote bags is surprisingly simple, and like the tumblers, it all starts with finding the perfect blank canvas. Browse online marketplaces or hit up your local craft store for tote bags that match your bachelorette theme. For mine, I went with a classic white option, but feel free to get creative and explore different colors or patterns.
Step 1: Choosing Your Heat Transfer Vinyl
Now that you have your tote bags, it’s time to personalize them! We’ll be using heat transfer vinyl (HTV) for this project. This vinyl type adheres to the fabric when heat is applied, creating a smooth, professional-looking design.
For a touch of chic elegance, I chose a beautiful marbled heat transfer vinyl – it added a unique pattern that everyone loved. There are tons of HTV options available online or at craft stores, so you can find one that perfectly complements your overall theme.
Step 2: Cricut Joy Cuts to the Rescue – Personalize with Names
Just like with the tumblers, your Cricut Joy will be your partner in personalization for these tote bags. Head over to Cricut Design Space and choose a font that suits the vibe of your bachelorette party. I opted for a clean and modern sans-serif font for a touch of sophistication.
Pro Tip: Weld Those Letters Together!
Here’s that handy name-welding tip coming in clutch again! Remember how we connected the letters for the tumbler names in Cricut Design Space? Do the same thing here! This creates a single vinyl decal with all the letters connected, making the application process much easier (especially for longer names).
Step 3: Heat Transfer Application – Patience is Key
With your vinyl design prepped, it’s time to apply it to the tote bags. Heat transfer vinyl application requires heat, so be sure to follow the instructions that come with your specific vinyl brand. Generally, you’ll use a household iron set to a specific heat setting (consult the vinyl instructions for details).
Important Note: Unlike regular vinyl, heat transfer vinyl has a slightly “gummy” feel and can be prone to tearing if you’re not careful during peeling. Don’t get discouraged if it takes a few tries to get the hang of it – be patient and take your time!
Step 4: Iron On Those Names!
Now for the fun part – ironing on the vinyl designs to your tote bags! Following the heat transfer vinyl application instructions, carefully place the design onto your tote bag and iron it on according to the recommended heat setting and time.
Bonus Tip: Ditch the Cricut EasyPress (Unless You Want To!)
Cricut often promotes their Cricut EasyPress for heat transfer vinyl application, but fear not! You can absolutely use a regular household iron to achieve the same results. While the Cricut EasyPress might offer even heat distribution, a standard iron gets the job done just fine. So, no need to rush out and purchase a new gadget if you already have a trusty iron at home.
The Finishing Touches & A Celebration Awaits!
Once you’ve ironed on all the names, admire your handiwork! These personalized tote bags are not only stylish but also incredibly functional. Fill them with goodies for your bachelorette bash, and watch your girls light up with excitement.
These tote bags are a gift that keeps on giving, serving as a cherished reminder of the unforgettable celebration and the upcoming “I do!” for the bride-to-be. Now that your DIY favors are complete, it’s time to pop open some
Wrap Up: Celebrate in Style with DIY Bachelorette Favors!
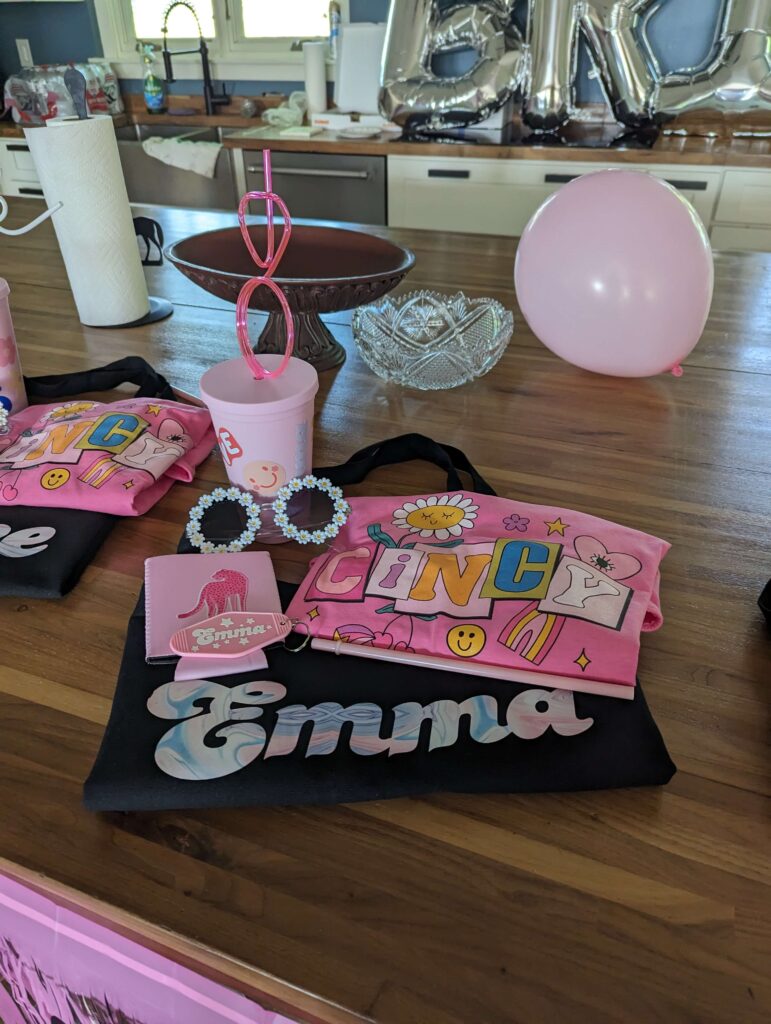
As you can see, creating personalized and adorable bachelorette party favors doesn’t have to be expensive or time-consuming. With a little creativity and the help of your trusty Cricut Joy, you can whip up stunning tumblers and tote bags that your girl squad will love.
These DIY favors are more than just gifts – they’re a way to add a special touch to your bachelorette celebration and create lasting memories. So, gather your besties, unleash your inner crafter, and get ready to celebrate the bride-to-be in style!
Don’t forget to share your DIY creations in the comments below! I’d love to see what you come up with.
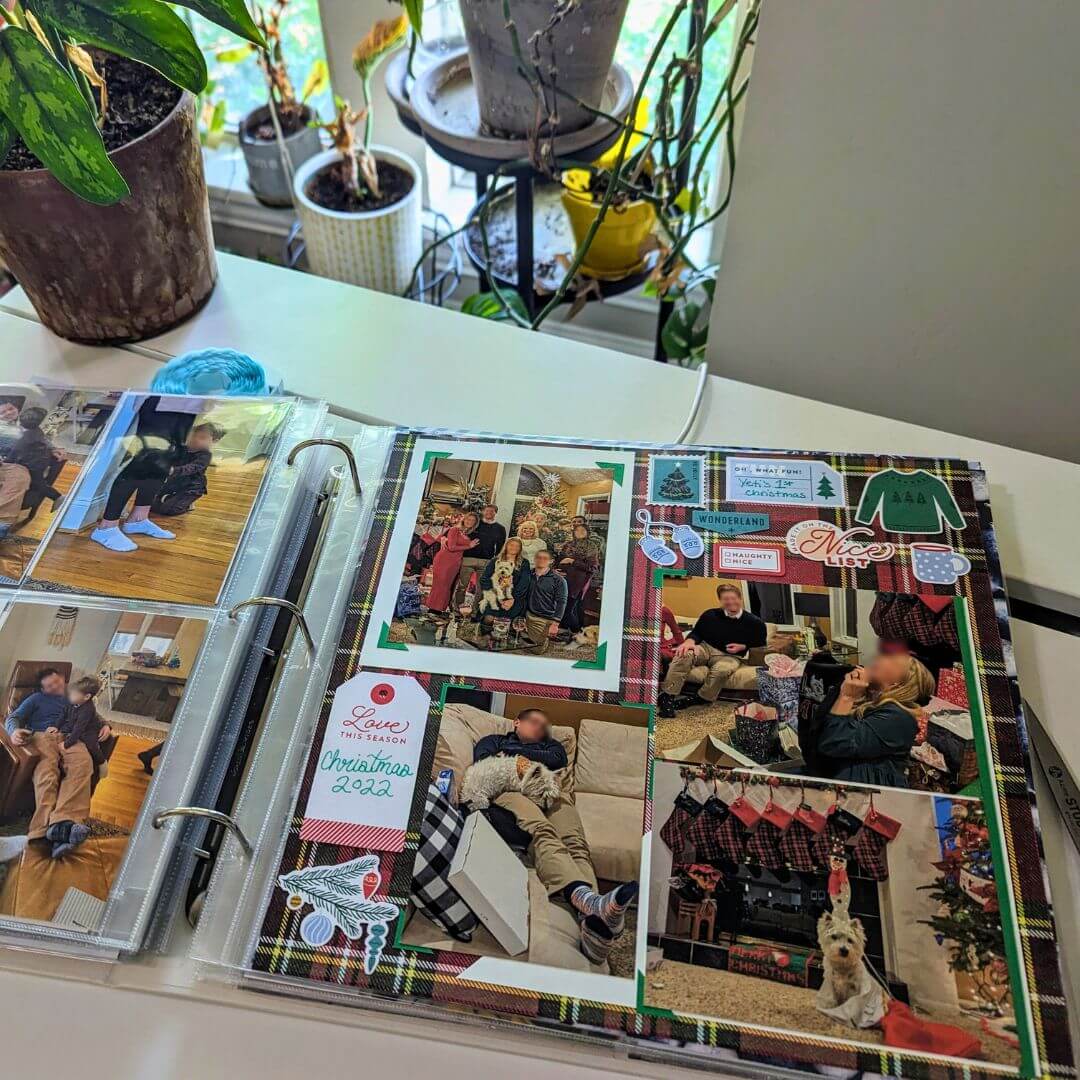
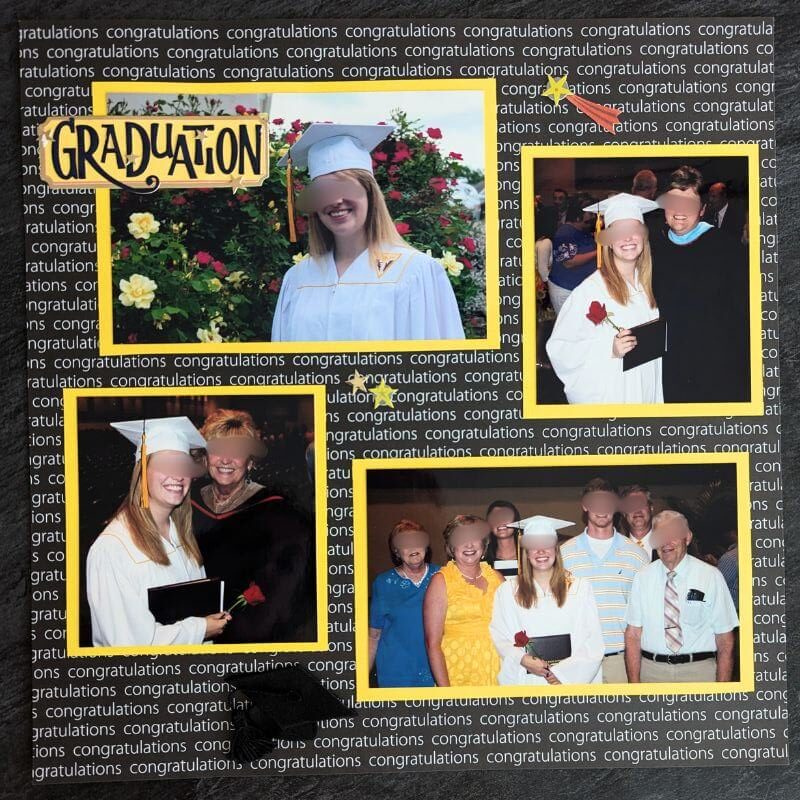
Bachelorette weekend is set! While you’re busy making memories, browse some wedding scrapbook inspiration to get a head start on preserving them.

One response to “Let’s Get Crafty: Affordable DIY Bachelorette Favors Your Squad Will Love”
Very cool!! Love the Cincy T-shirt!! Great ideas!!