This blog post may contain affiliate links. This means that if you click on a link and make a purchase, I may receive a commission at no additional cost to you. However, all of the products I recommend are ones that I have personally used and loved.
Hey there, crafty friends! Today, I’m bursting with excitement to share what might be my favorite scrapbook project of this year: my Bachelorette Glitter Scrapbook Pages!
The concept of a bachelorette weekend felt tailor-made for me, and it ended up creating the perfect storm of memories I wanted to capture for posterity. Knowing my love for scrapbooking, my amazing girlfriends were all on board, constantly whipping out their phones to snap pictures throughout the entire weekend. Let’s just say, I ended up with a treasure trove of photos to bring my scrapbook to life!
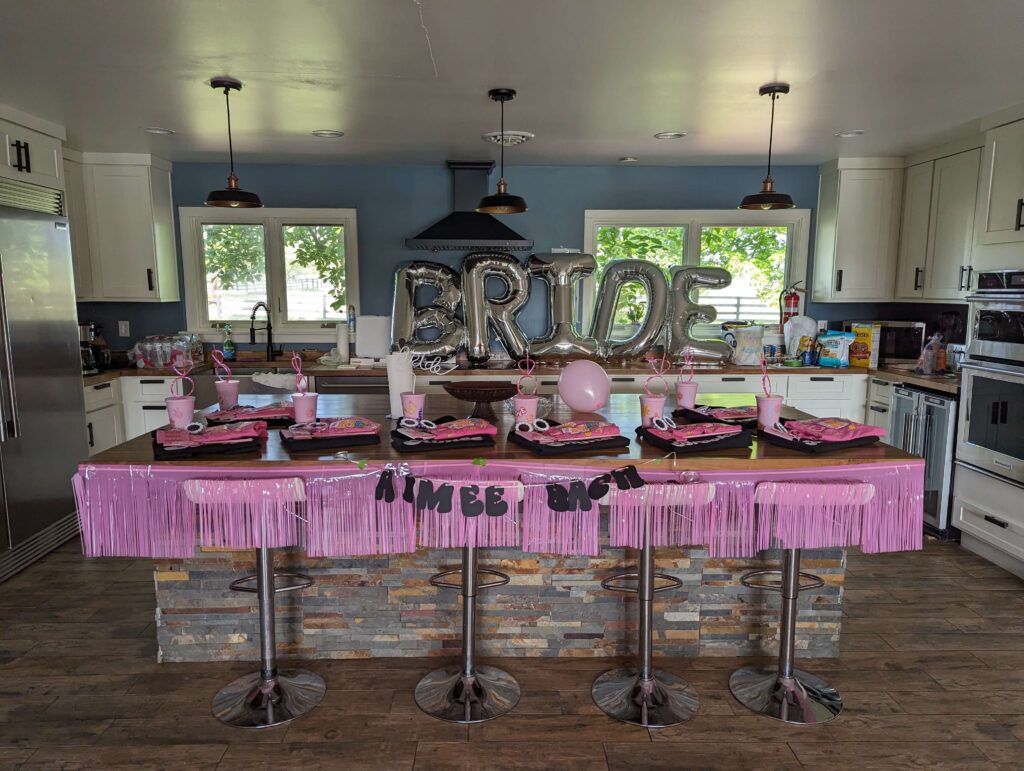
Now, full disclosure, I’m not exactly your typical “party girl.” So instead of the traditional bar-hopping extravaganza, we packed the bachelorette weekend with all sorts of unique and fun events. We embarked on a thrilling ghost hunt, cruised around town in style with a luxurious limo rental, soaked up the sun by the pool, and even squeezed in some quality crafting time (because, well, priorities!)
With such a diverse range of activities, I knew my scrapbook pages needed to be equally dynamic. That’s when I stumbled upon these incredible glitter scrapbook pages – and let me tell you, it was a match made in crafty heaven!
The Perfect Foundation: Choosing the Right Glitter Scrapbook Pages
For those of you unfamiliar with the magic of glitter scrapbook pages, let me give you a quick rundown. These pages come pre-made with a stunning layer of glitter embedded directly into the cardstock. They come in a dazzling array of colors and textures, offering the perfect foundation to build your scrapbook masterpieces upon.
For my bachelorette bash, I opted for a vibrant mix of glittery hues. I chose a playful pink for the ghost hunting adventure, a sleek black for our limo ride photos (because, you know, and a refreshing turquoise for our poolside shenanigans. Of course, I also incorporated a classic white glitter page for my crafting extravaganza – a perfect backdrop to showcase the sequined masterpieces we all created!
Personalizing the Sparkle: Weaving Memories and Materials Together
While the glitter pages themselves provided a dazzling foundation, I wanted to take things a step further and personalize each layout to truly capture the essence of each bachelorette activity. Here’s where the real crafting fun began!
Coordinating Cuteness: From Tumblers to Glitter Scrapbook Pages
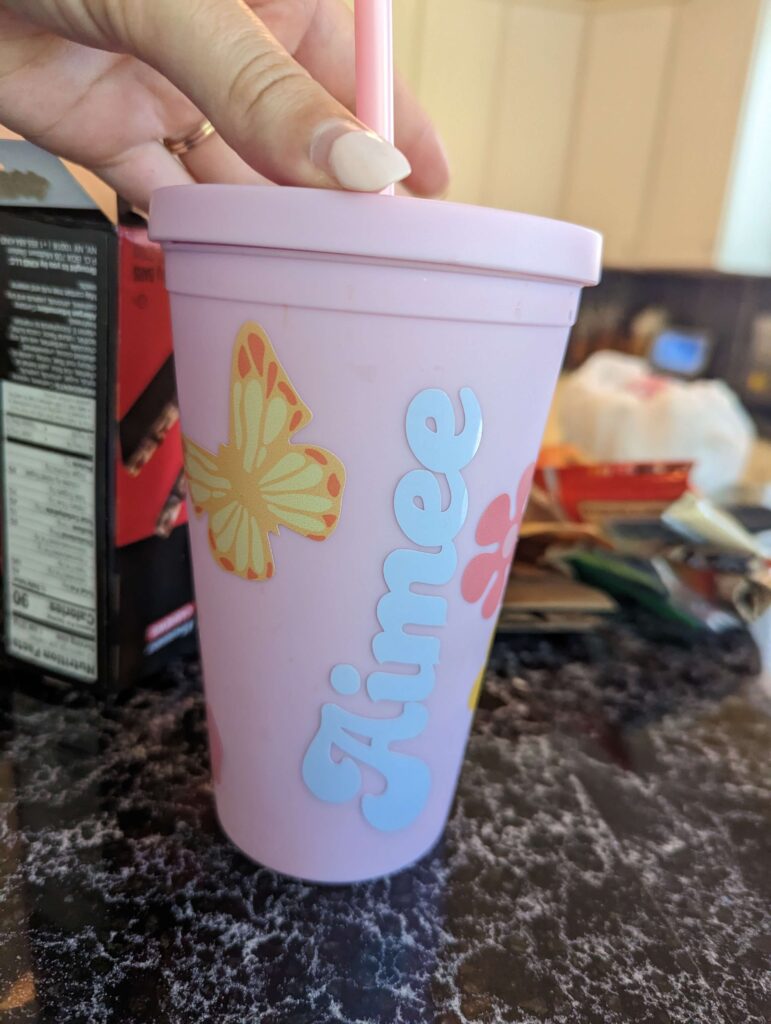
Remember all those extra stickers leftover from DIY-ing our adorable tumblers? Well, they didn’t go to waste! I incorporated them throughout the scrapbook pages, creating a delightful sense of continuity. Let’s just say, these Girlie Scrapbook Pages perfectly matched our cute tumblers – isn’t that the sweetest detail?
Embracing the “Scraps” in Scrapbooking
As a firm believer that scrapbooking should truly embrace the concept of using up scraps, I raided the depths of my paper stash. Lo and behold, I unearthed a treasure trove of pink paper just waiting for its moment to shine. After all, given the overall theme of the weekend, this was a match made in crafting heaven! The abundance of pink paper provided a cohesive thread that I could weave throughout all the pages, tying everything together beautifully.
Balancing the Bling: A Touch of White Magic
After laying everything out, I had a moment of realization: perhaps I went a tad overboard on the pink front. Hey, it happens to the best of us crafters! Knowing I needed to balance the color palette and give viewers’ eyes a bit of a break, I reached for the ultimate neutral – white.
Setting the Stage: The Bachelorette Cover Page
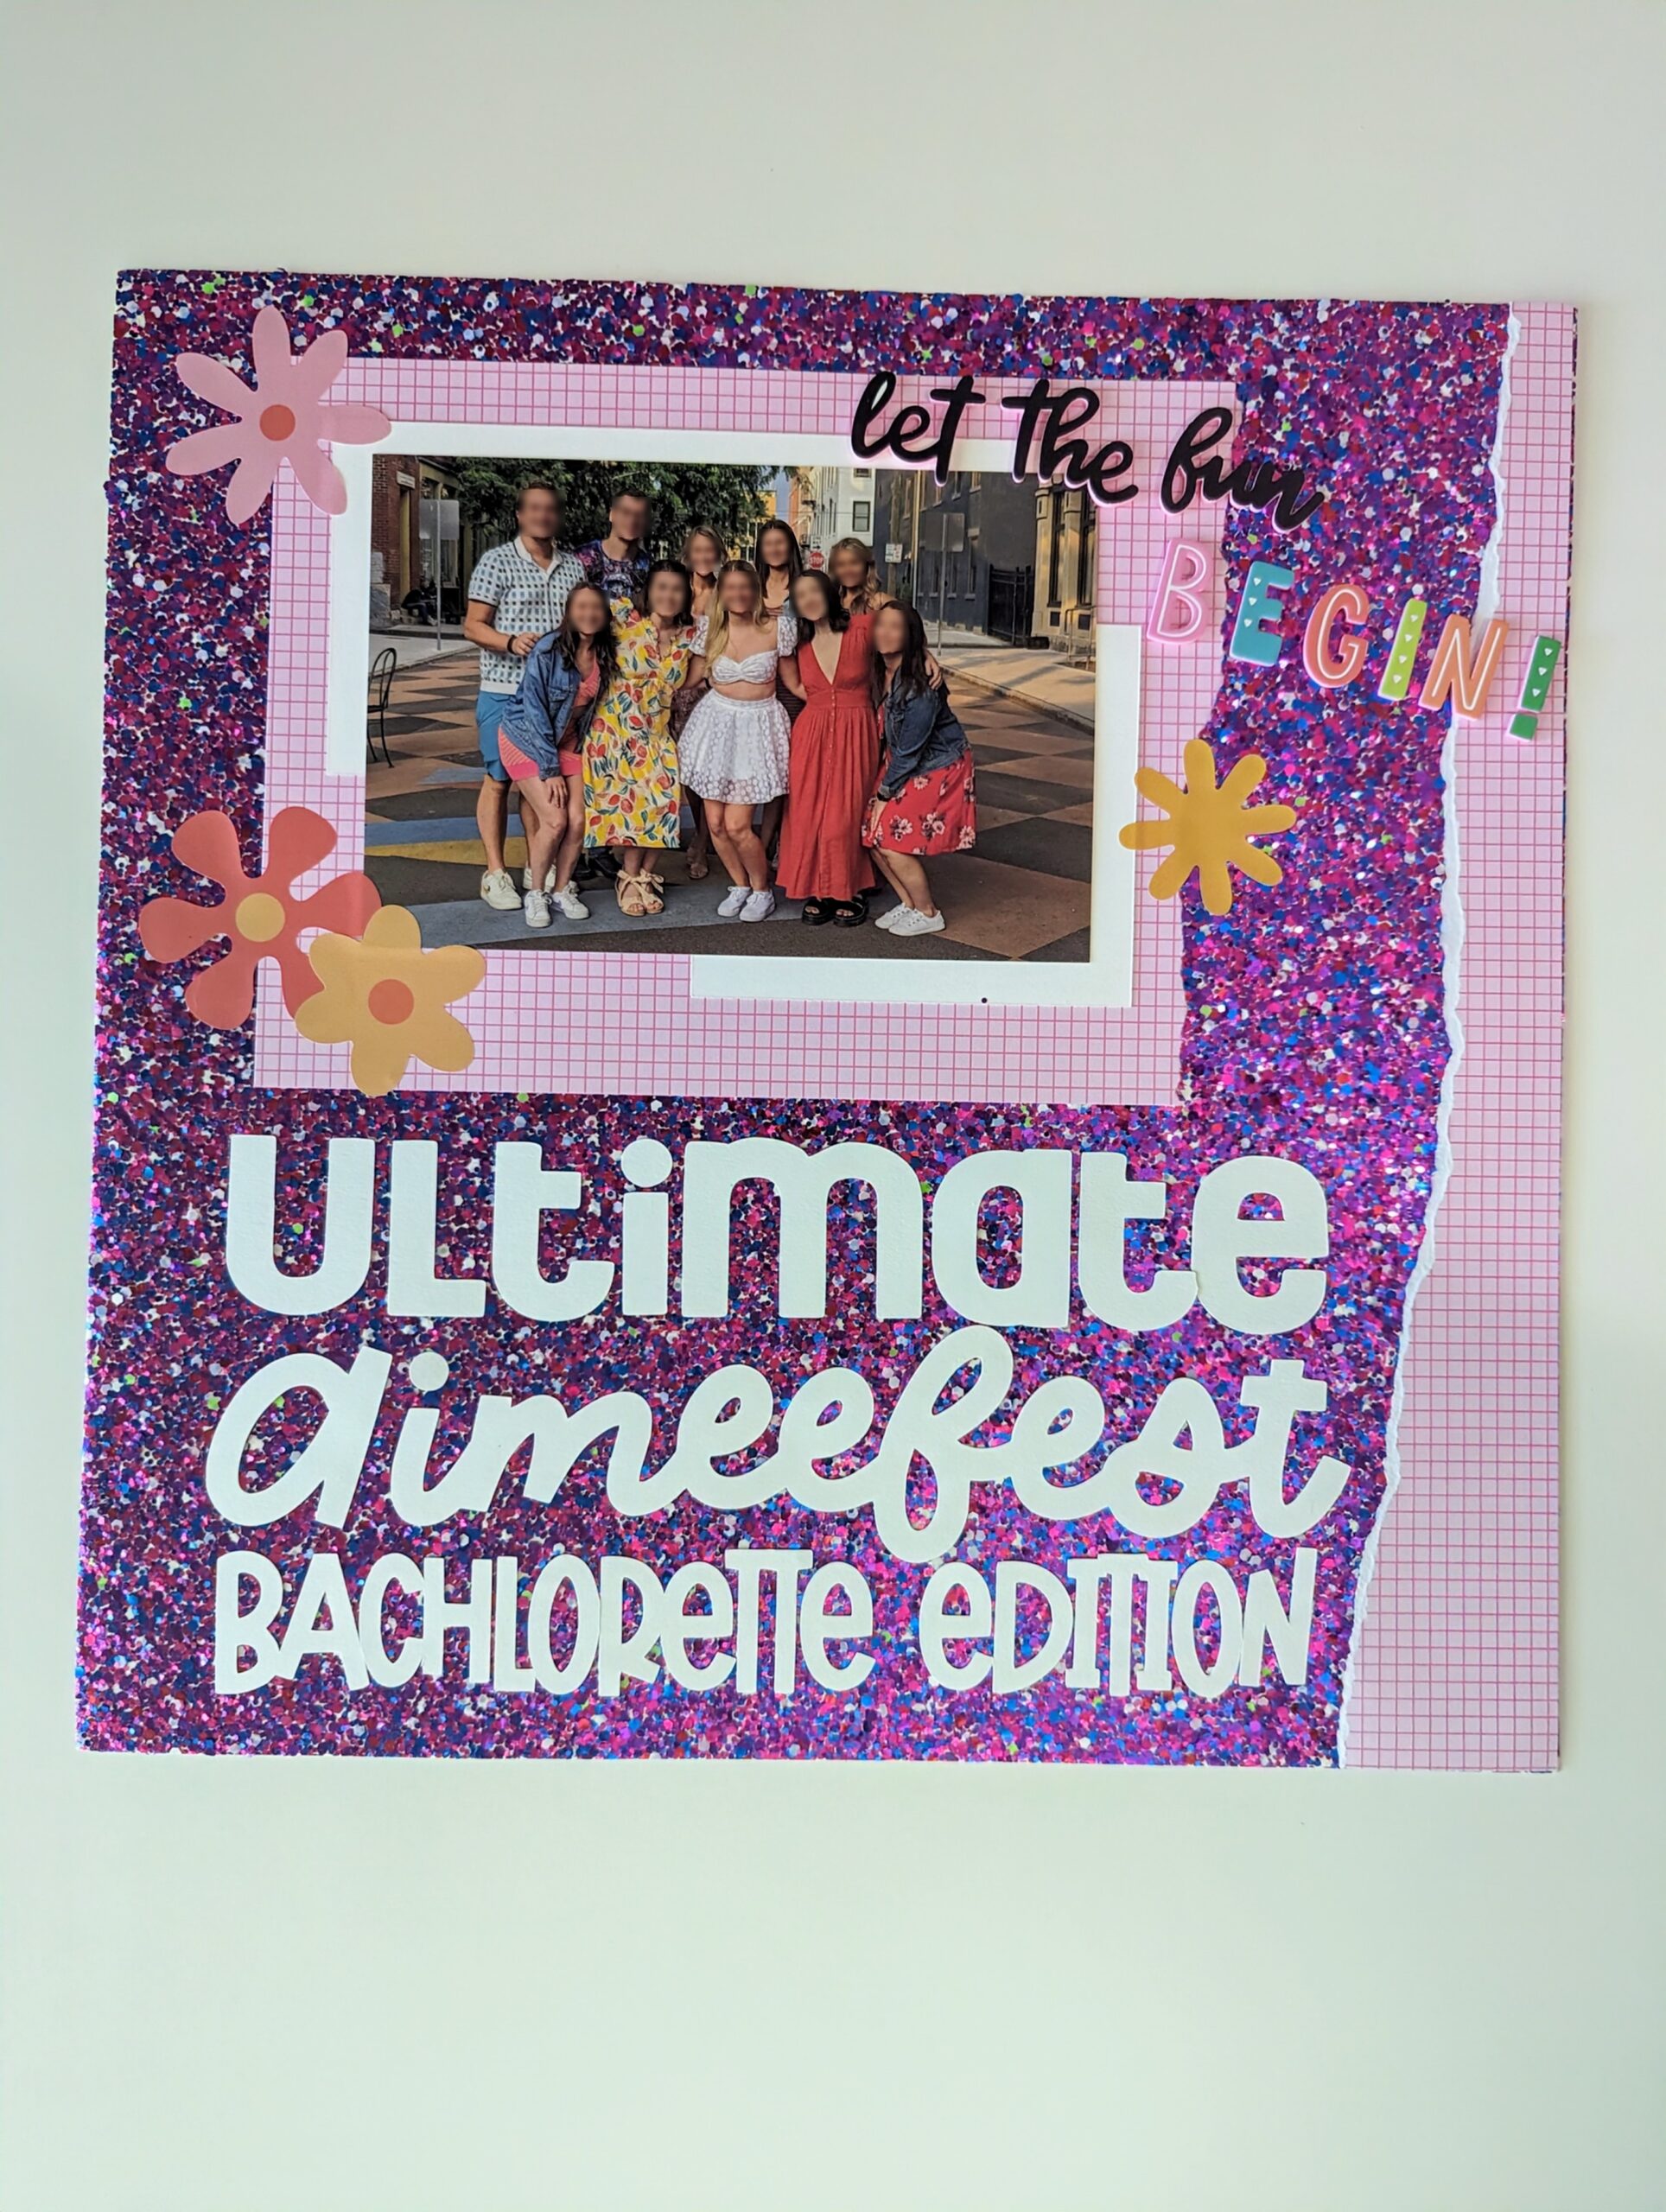
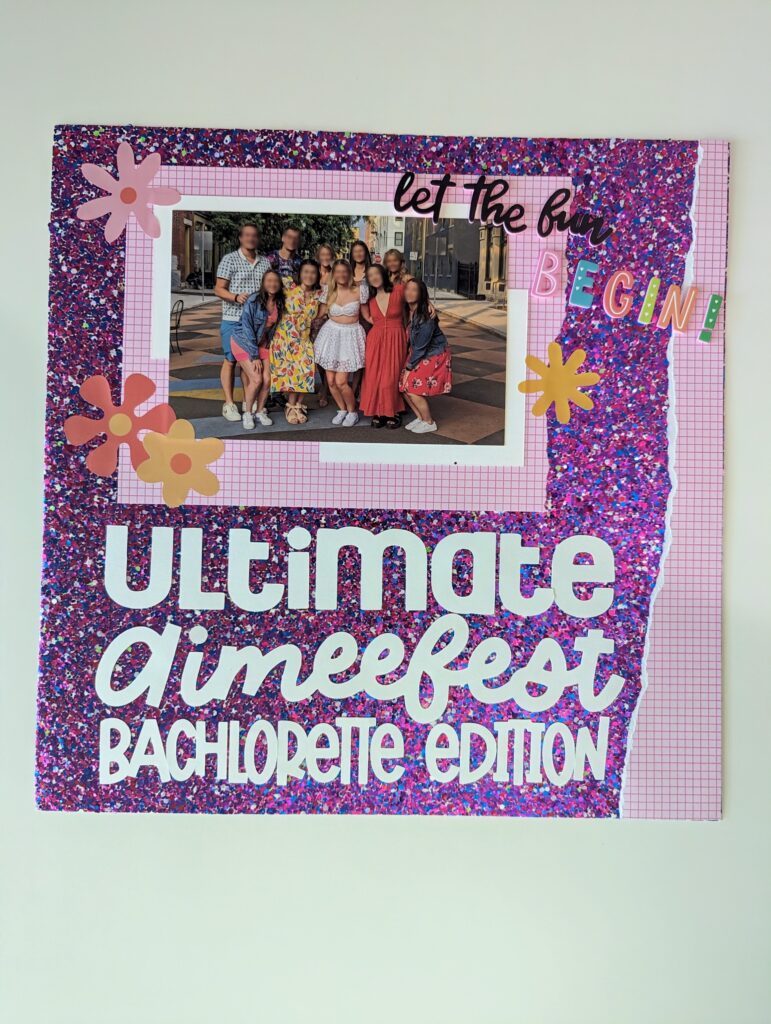
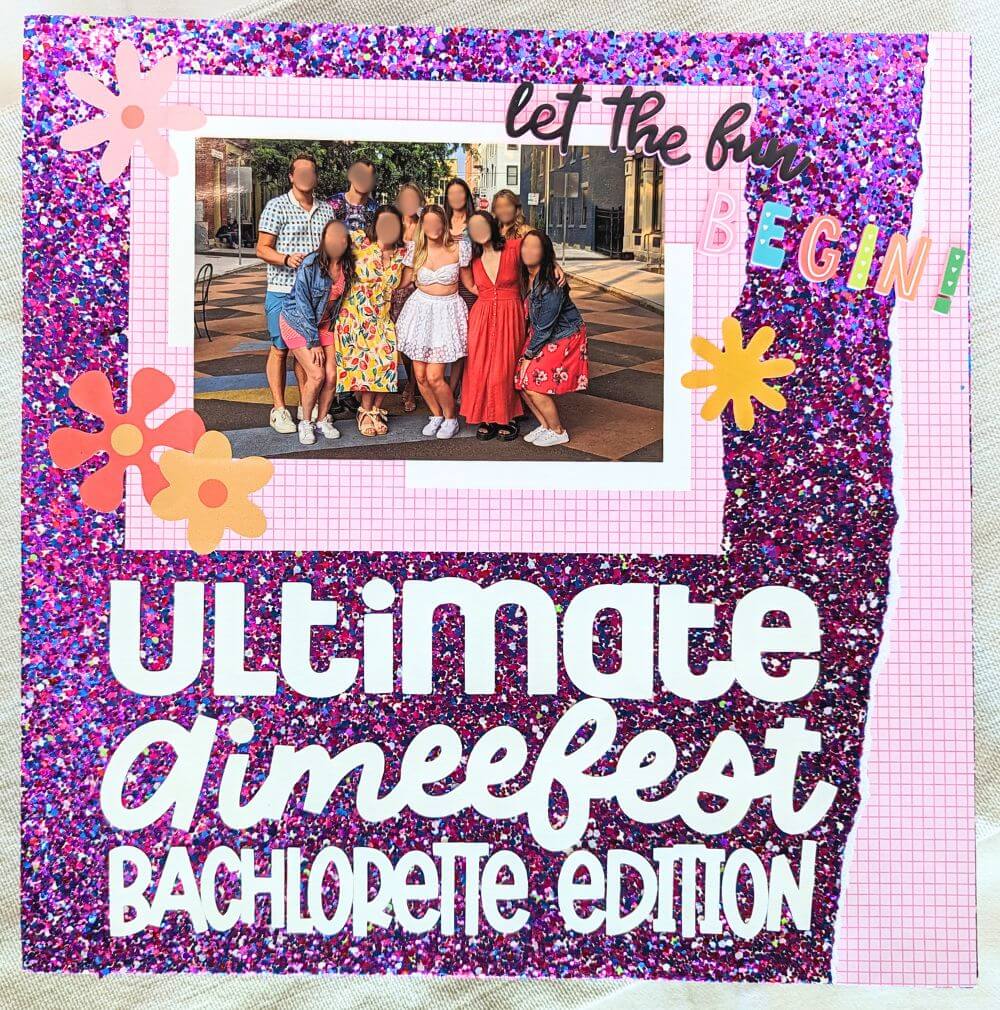
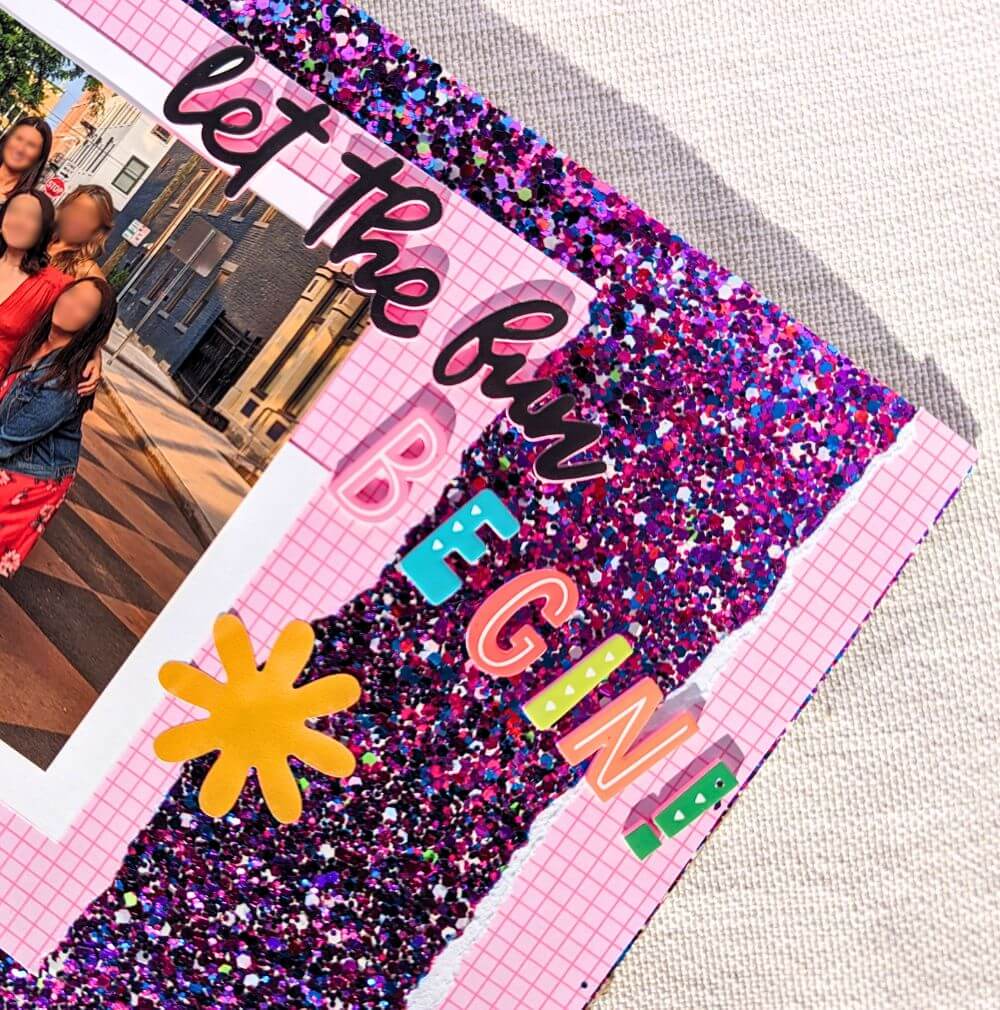
The first page served as a grand entrance for the entire scrapbook project. I envisioned it as a captivating cover page that would set the tone for the glittery memories to come.
Choosing the perfect photo was a no-brainer – thanks to my amazing girlfriends, we had a fantastic group shot captured right at the beginning of the weekend. This photo deserved center stage, so I gave it a prominent frame and an even larger title.
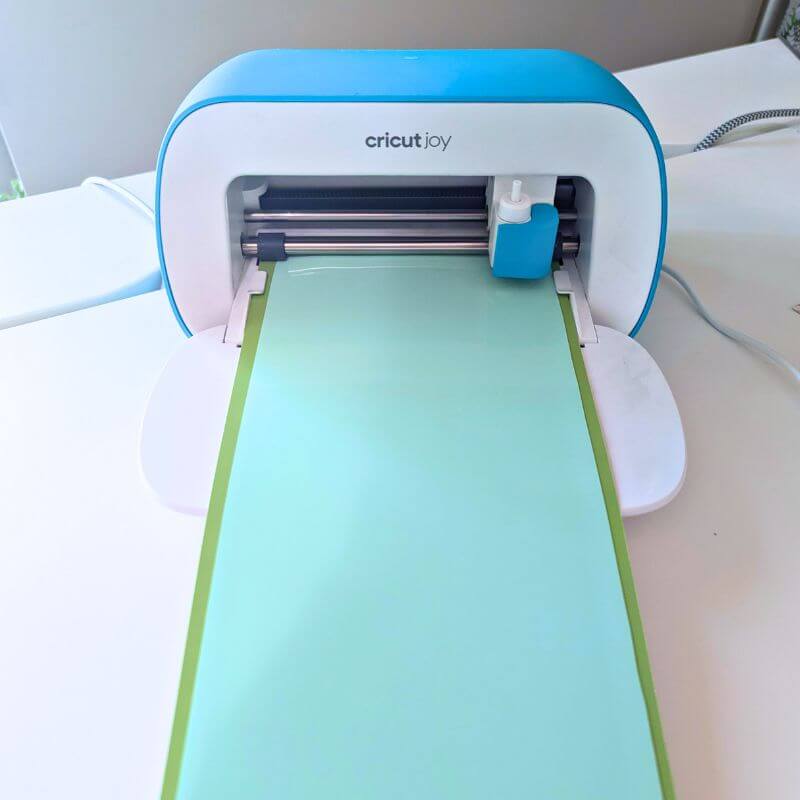
Speaking of the title, here’s where my beloved Cricut Joy came into play. If you’ve been following along on this blog, you already know about my deep affection for this little crafting machine. For those of you who haven’t yet experienced its magic, let me tell you – the Cricut Joy is an incredibly affordable and versatile tool that has become my go-to for all things paper crafting. Using my Joy, I whipped up a stunning title that perfectly captured the excitement of the bachelorette weekend.
Second Page: Reliving the First Night’s Fun
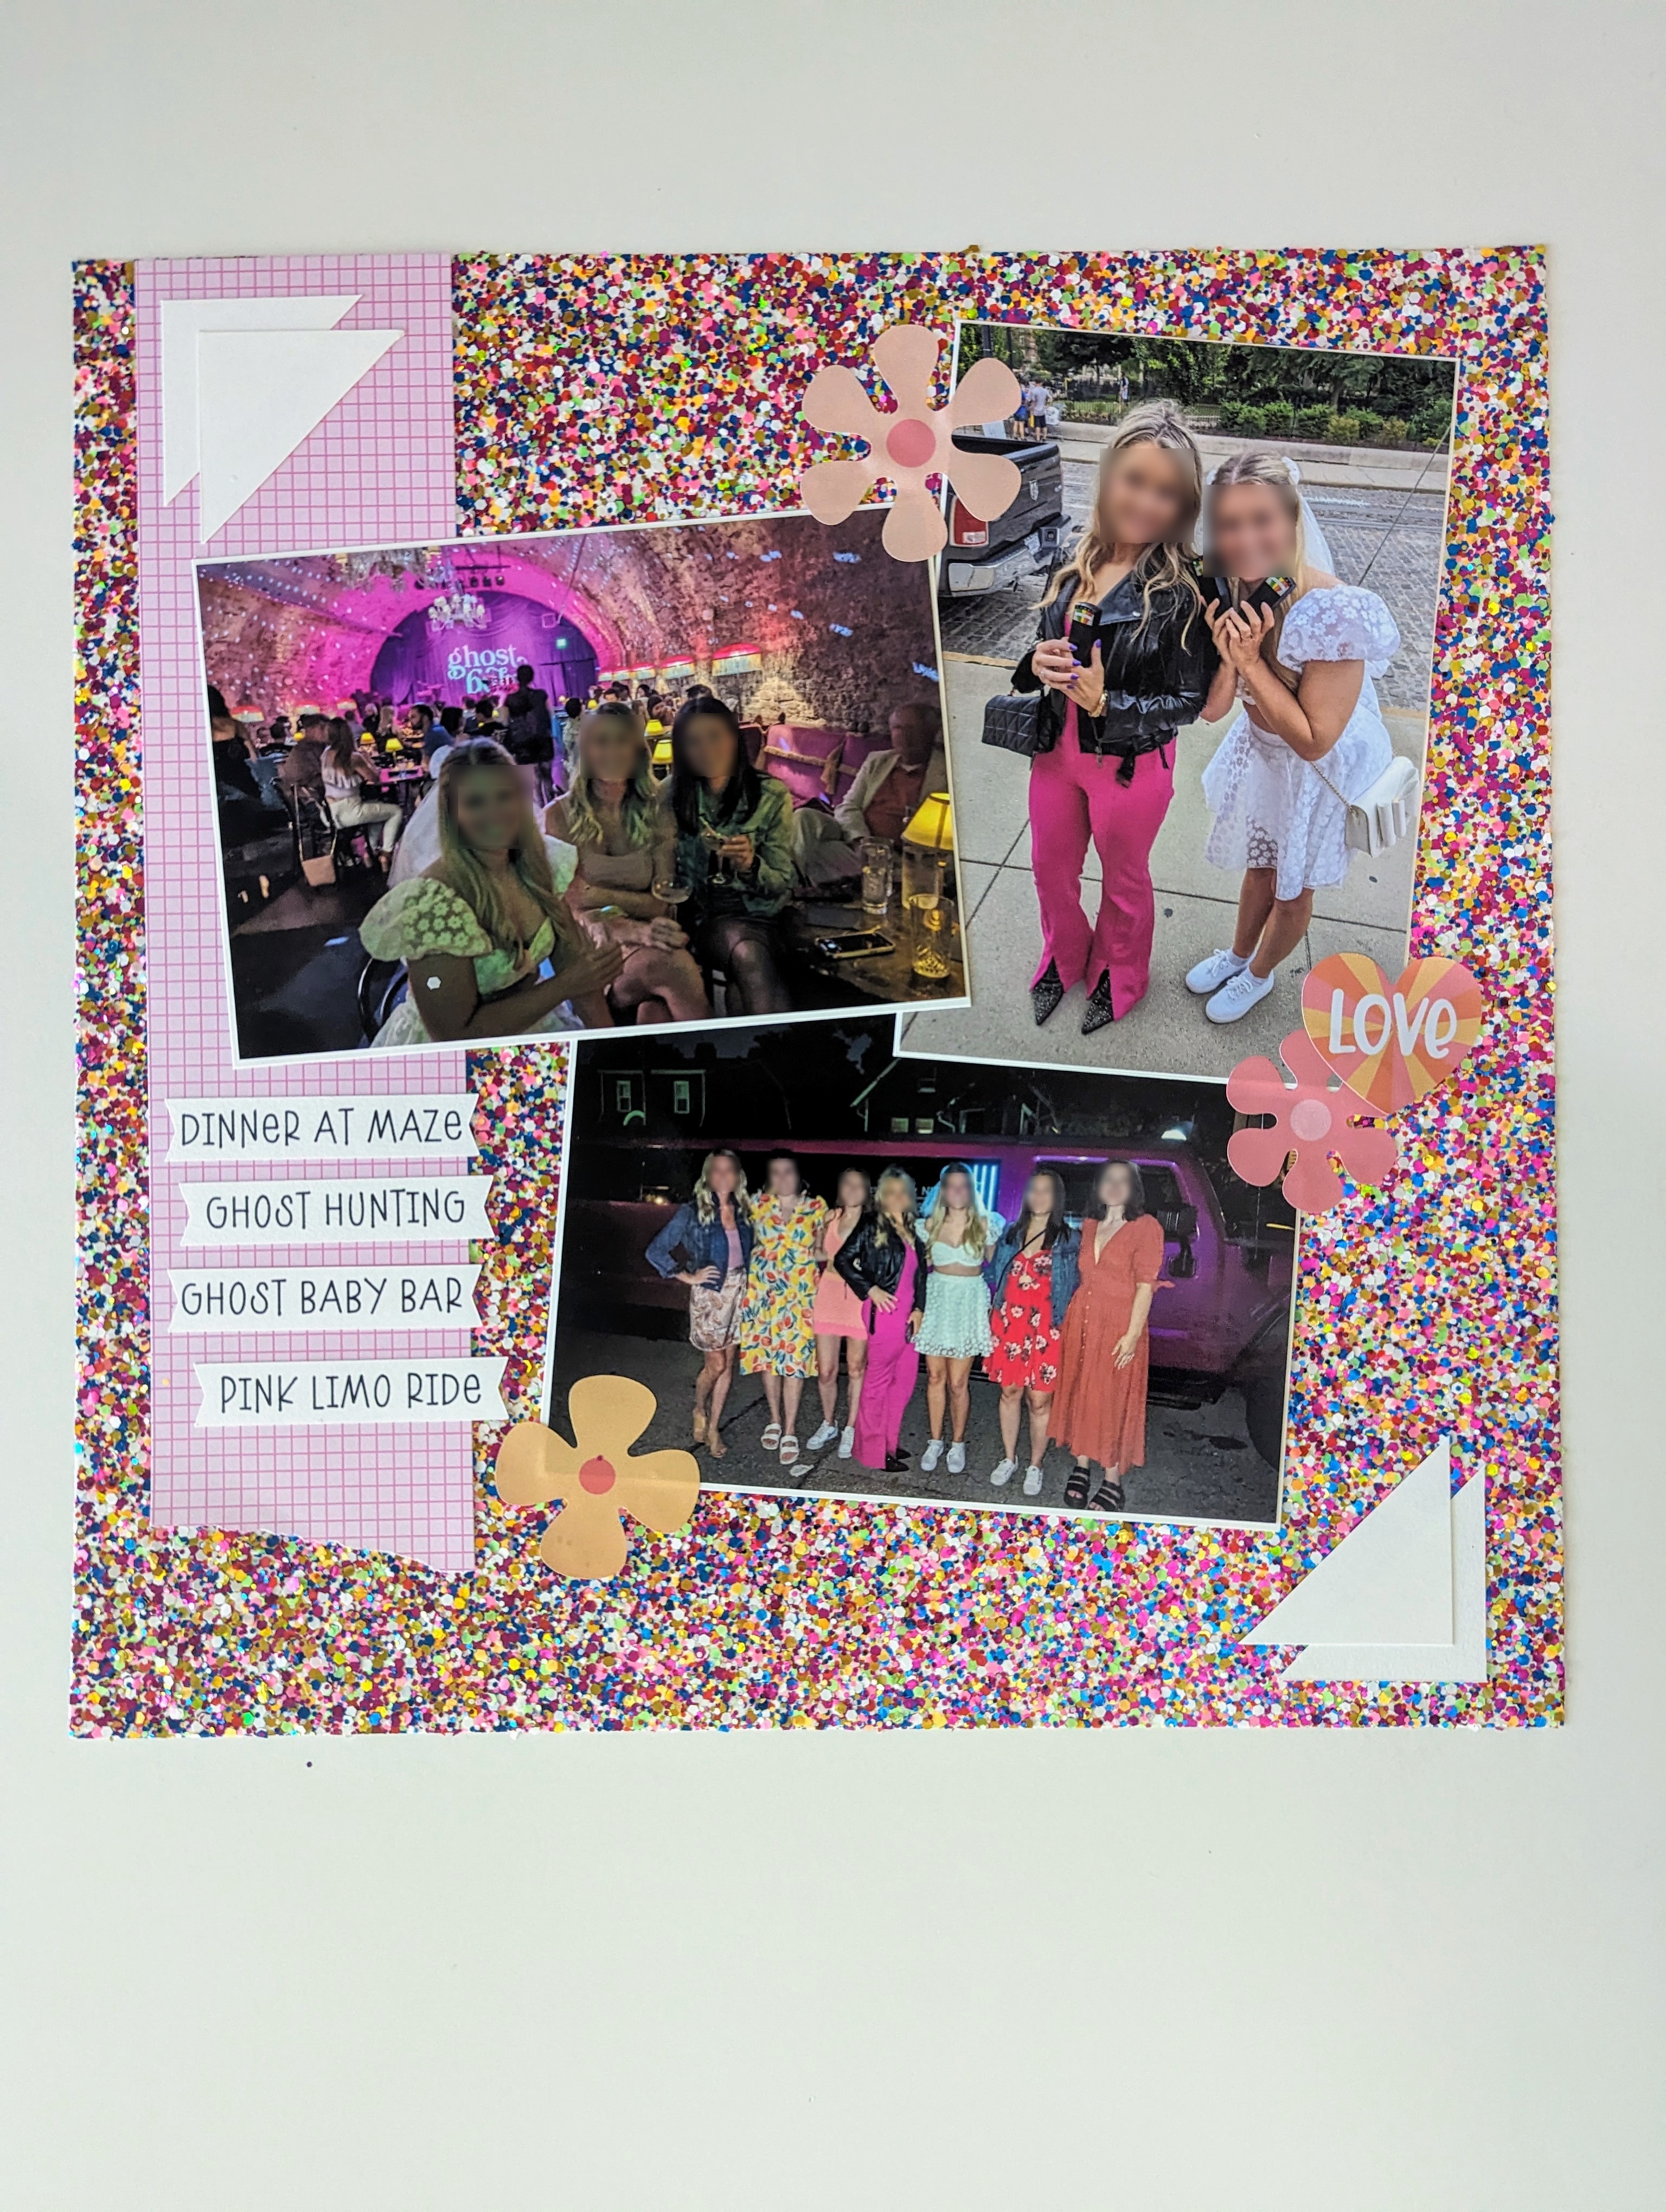
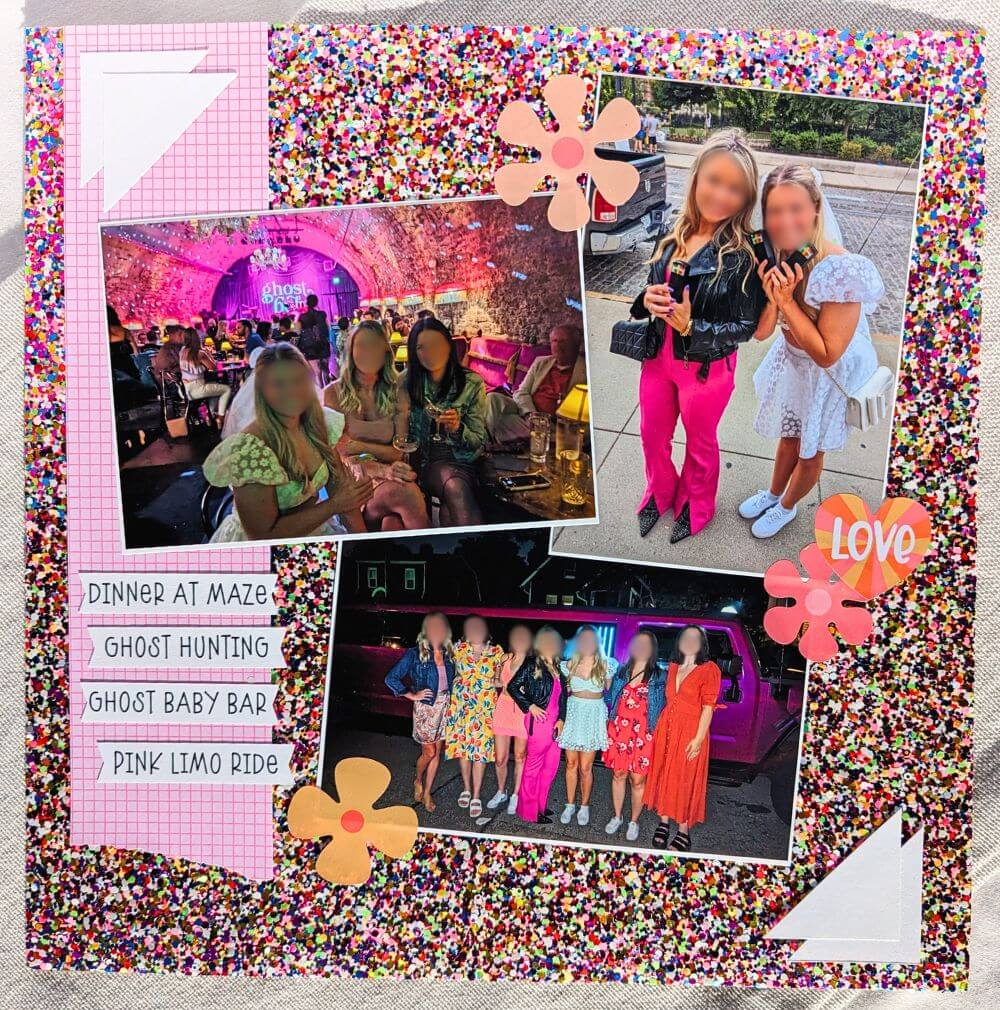
The second page was dedicated to capturing the whirlwind of fun that unfolded on our first night. I wanted to create a clear and engaging summary of all the activities we enjoyed, so I turned once again to my trusty Cricut Joy. This little marvel not only cuts intricate designs but also boasts a fantastic writing function that’s perfect for creating titles. Using this feature, I listed out each activity in a playful font, ensuring a clear timeline of our first night’s adventures: Dinner, Ghost Hunting, Bar Hopping, Limo Ride.
Maintaining Cohesion: A Touch of Continuity
To tie this page seamlessly into the overall design aesthetic, I employed similar design motifs as the first page. White paper strategically placed around the photos helped them “pop” against the glitter background, while the floral stickers added a touch of consistent femininity throughout the scrapbook. By keeping these design elements consistent, I created a sense of visual harmony and ensured a smooth flow from page to page.
Tips and Tricks for Creating Your Own Glittery Masterpieces
If you’re feeling inspired to create your own glittery scrapbook magic, here are a few handy tips:
- Embrace the mess! Glitter has a mind of its own, and there’s no stopping it from escaping a little bit. Work on a protected surface and have a dustpan handy for easy cleanup.
- Glitter storage is key! Invest in containers with resealable lids to keep your loose glitter organized and prevent spills. Even when the pages were finished I found glitter all over my desk.
- Stick it! The standard mounting squares or double sided tape won’t stick to this glittery page. Make sure to use some acid free glue to get everything to stick.
- Think outside the box! There are no rules when it comes to scrapbooking. Get creative with your embellishments and use them to tell the unique story of your event.
So there you have it, crafty friends! With a little bit of glitter, a lot of laughter, and a sprinkle of creativity, I was
Next Up
Stay tuned for the next part, where we’ll delve deeper into how I personalized each page to reflect the unique spirit of every bachelorette activity!

If you liked this post check out all the Wedding Scrapbook Content! Or my last post about the Bachelorette DIYs and how I made them.
