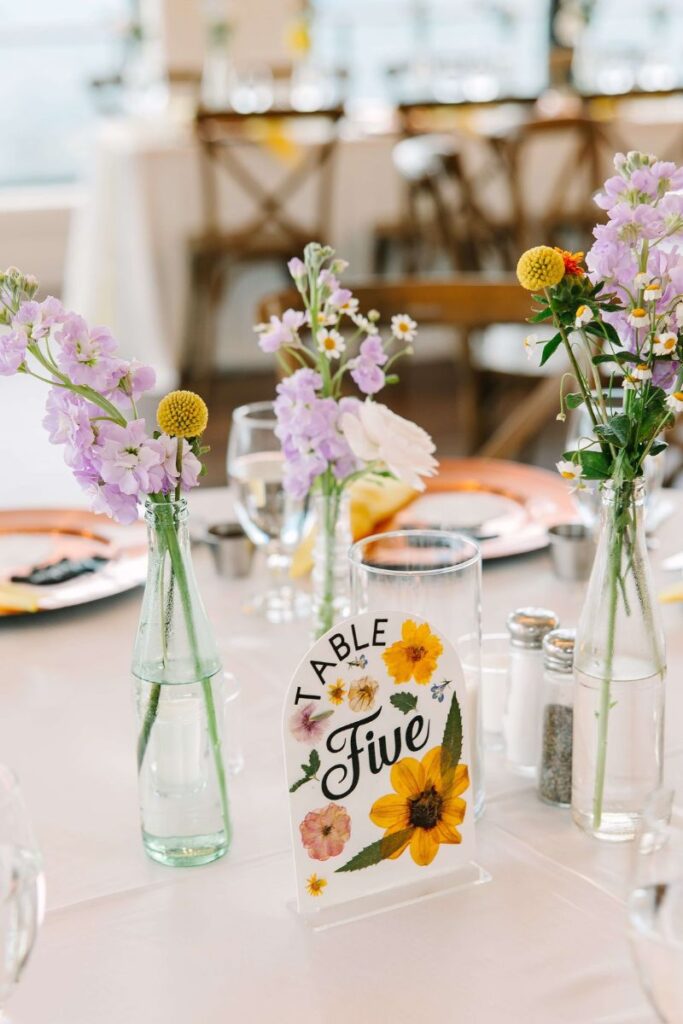
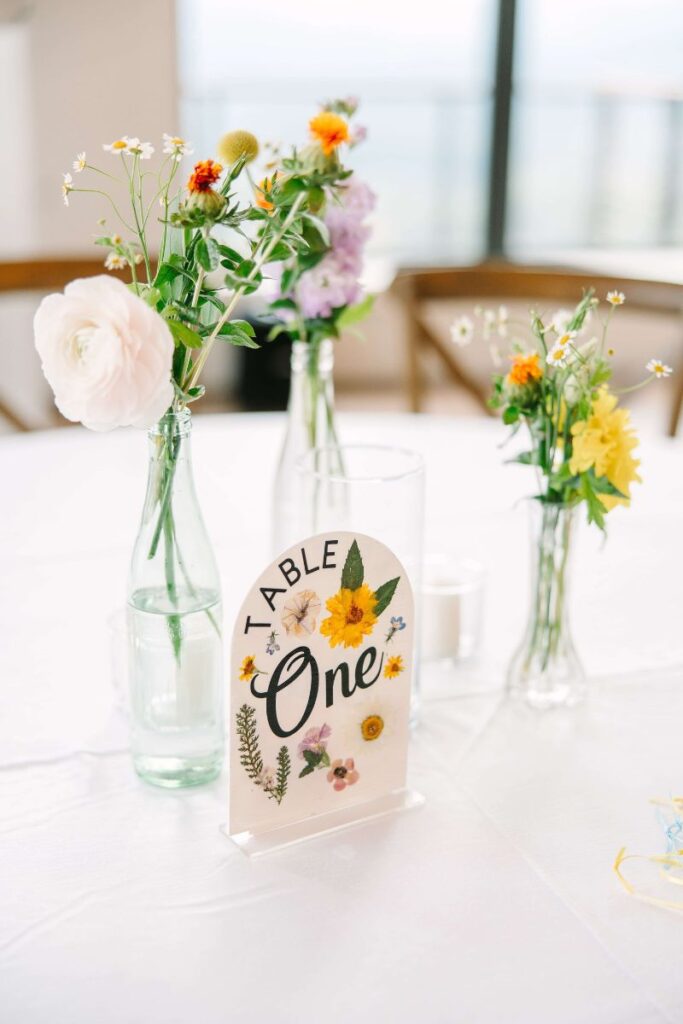
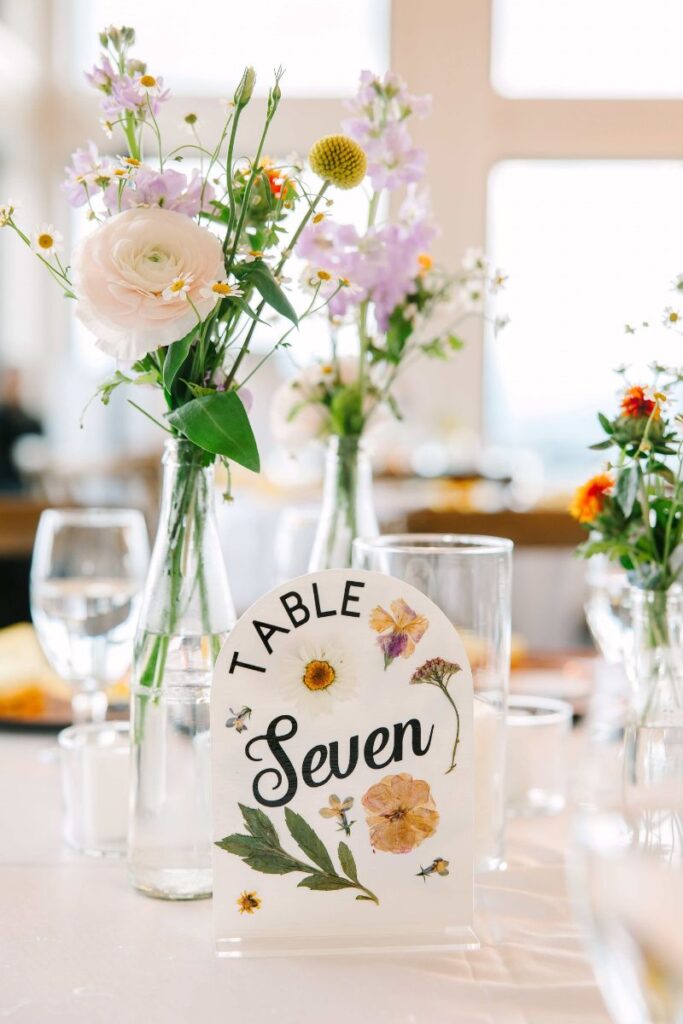
Planning a wedding is all about capturing the essence of you and your partner. For me, that meant incorporating my love of gardening. While growing all my own flowers seemed ambitious, I knew I could bring a touch of my garden to the reception with pressed flowers and made these DIY Wedding Table Numbers.
Adding Personal Touches with Pressed Flowers
These DIY wedding table numbers are a simple yet impactful way to personalize your wedding. They have a unique, handcrafted feel that sets them apart from store-bought options.
What you’ll need:
- Flowers from your garden (smaller flowers and greenery work best)
- Flower press (available online)
- Acrylic blanks or frames (your choice!)
- White acrylic paint
- Sponge
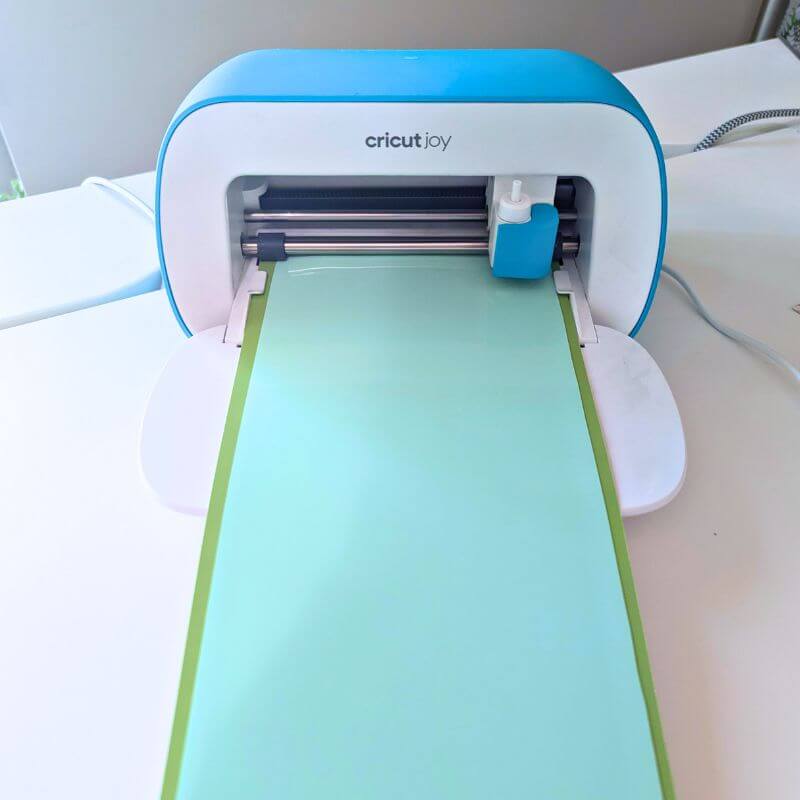
- Cricut machine (optional) or stencils and paint for numbers
- Tweezers
- Mod Podge
- Sponge brush
- Sealing Coating Spray
This blog post may contain affiliate links. This means that if you click on a link and make a purchase, I may receive a commission at no additional cost to you. However, all of the products I recommend are ones that I have personally used and loved.
Instructions:
- Press your flowers: Pick out small flowers and greenery from your garden. Arrange them face down between the sheets of your flower press. Let them dry for at least 24 hours, or 3 days for best results.
- Prepare your base: While the flowers dry, paint your acrylic blanks or frames white. Use a sponge for even coverage and avoid painting past the edges that will fit into the stand. Let the paint dry completely, then flip and paint the other side.
- Add the numbers: There are two ways to tackle this. You can use a Cricut machine to cut out numbers in a decorative font, or you can use stencils and paint your numbers onto the base.
- Arrange the flowers: Once your flowers are dry and the paint is dry, use tweezers to carefully arrange them on the base. Use a light touch, as dried flowers are delicate.
- Secure the flowers: Dab a small amount of Mod Podge onto the flowers using a clean sponge brush. Let the Mod Podge dry completely, then add a second coat for extra protection. Apply Mod Podge to both sides of the sign.
- Seal the deal: For a non-sticky finish, especially important in warm weather, add a final coat of sealant over the entire sign, front and back.
Voila! Your personalized and beautiful pressed flower table numbers are complete and ready to add a touch of your garden to your wedding reception.
Tips:
- Experiment with different flower combinations to create a unique look for each table.
- Use leftover pressed flowers for other wedding decorations, like place cards or favors.
- If you don’t have a Cricut machine, you can find stencils for numbers at craft stores.
A Touch of You on Your Special Day
These DIY table numbers are a beautiful way to incorporate a personal touch into your wedding decor. They’re a lovely conversation starter for your guests and a charming reminder of your love for gardening.
If you enjoyed these wedding tips be sure to check out a peak at the actual wedding in my wedding scrapbook!

