Hey Scrappers! Feeling the birthday card crunch? We’ve all been there – a special occasion sneaks up on us, and suddenly we’re scrambling to find the perfect card. But fear not, paper crafting enthusiasts! Today, I’m here to share my go-to solution: a super simple and easy DIY Birthday shaker card design that’s guaranteed to bring a smile to anyone’s face.
The best part? This design is a celebration of resourcefulness. Forget hunting down expensive cardstock or fancy embellishments. We’re all about using what we have, and that’s where the magic of scraps comes in. You know those leftover bits and bobs from your scrapbooking projects? The colorful cut-outs, the patterned paper remnants, the glittery ausgestan shapes – they’re all about to get a new lease on life! So dig into your stash, gather your supplies, and let’s create a shaker card masterpiece, all with materials you probably already have on hand.
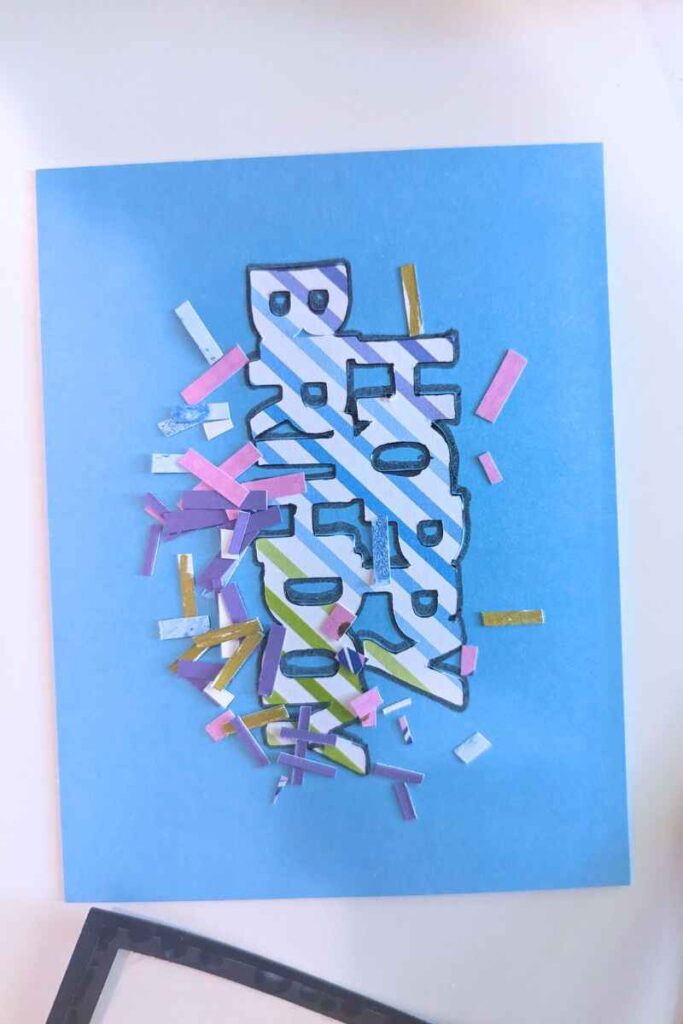
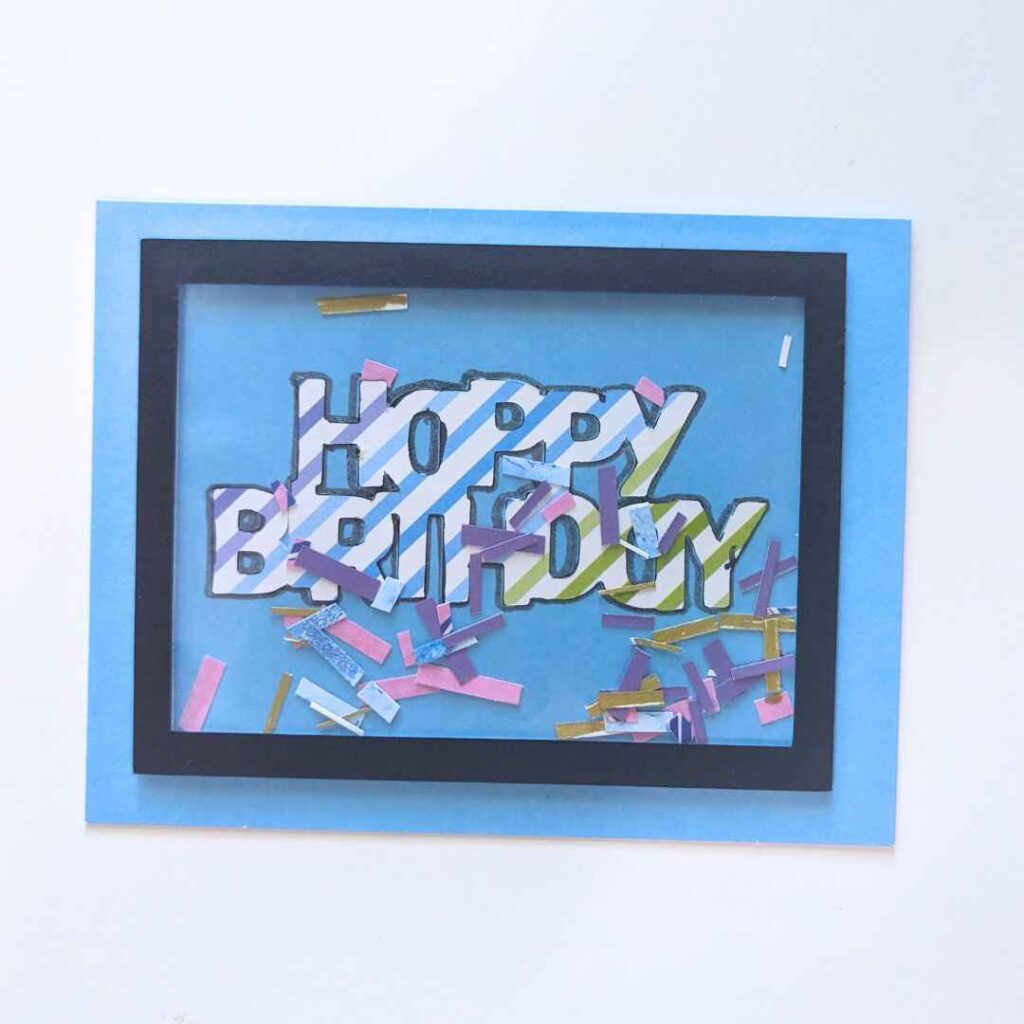
Step 1: Craft Your Birthday Greeting
Now, let’s personalize this shaker card! Here’s where the “Happy Birthday” magic happens.
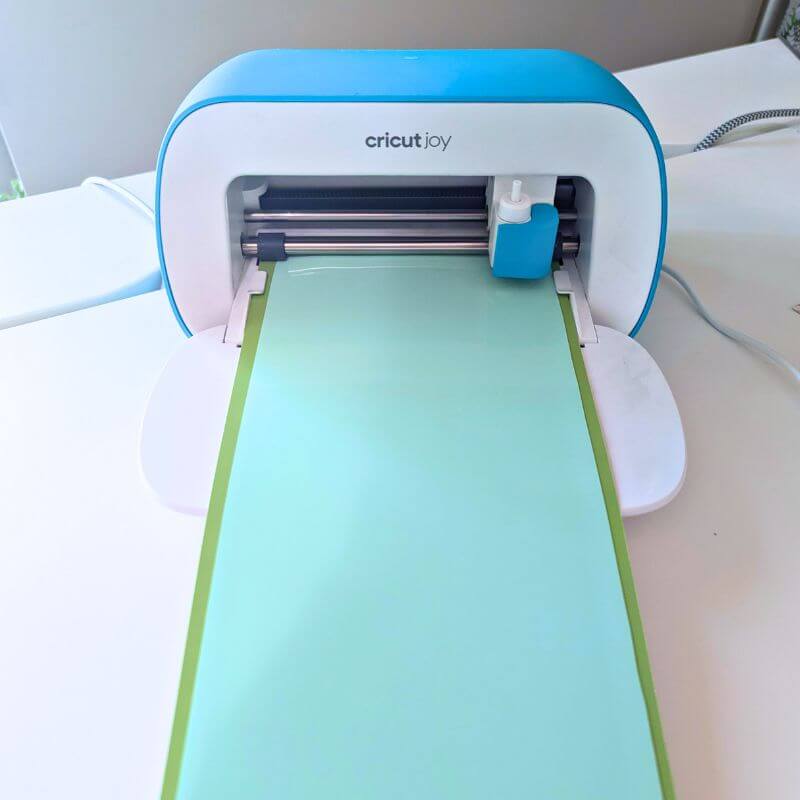
- Cricut Crafters: Love the clean lines and perfect cuts a Cricut machine provides? If you have a Cricut Joy, you can leverage its compact size for this project. Here’s a pro tip: Use the “weld” function to join all the letters of “Happy Birthday” into one piece. This saves you time and ensures perfect alignment when adhering it to your card.
- Cricut-Free Creativity: Don’t have a Cricut? No worries! There are plenty of ways to add a birthday message.
- Handwritten Charm: Channel your inner calligrapher and write a heartfelt “Happy Birthday” directly on the card. This adds a personal touch that’s always appreciated.
- Sticker Surprise: Stock up on sticker letters or pre-made birthday messages. They come in a variety of colors and styles, allowing you to easily customize your card’s look and feel.
Step 2: Unleash the Power of Scraps!
Now comes the fun part – transforming those leftover scraps into a shaker sensation!
- Scrap Savvy: We’ve all been there – leftover bits and pieces of patterned paper accumulate after scrapbooking projects. This is your chance to give them a new purpose! Gather a variety of colorful and patterned scraps in different shapes and sizes. Aim for a confetti-like mix that will add visual interest when the card shakes.
Step 3: Crafting the Shaker Window
The window is the portal that lets everyone see the confetti magic happening inside. Here’s how to create it:
- Cricut Convenience: If you’re using your Cricut Joy, you can easily cut out a hollow rectangle using a rectangle shape and adjusting the cut lines to create an outline.
- Scissor Savvy: Don’t have a Cricut? Grab your trusty scissors and some cardstock. Carefully cut out a clean-edged rectangle. To create the shaker pocket, you’ll need to cut a slightly smaller rectangle inside the first one, leaving a border around the outside.
Step 4: Creating the Clear Window
This is where the shaker element comes into play! We need a transparent window to showcase the confetti movement.
- Repurpose Alert! Ever bought a page protector that turned out to be the wrong size? Don’t toss it! Cut a piece of the plastic to match the size of your rectangle window. This repurposed plastic sheet becomes the window that allows the confetti to dance inside the shaker pocket.
Step 5: Assemble Your Shaker Masterpiece!
Now that you have all the pieces, it’s time to bring them together!
- Layering Magic: Place your cut-out letters or sticker message on the front of your card.
- Shaker Window Prep: Apply a thin layer of liquid glue to the border of your cardstock window (the one with the cutout inside). Carefully adhere the clear plastic sheet (cut from the page protector) to the glued border, creating a sealed pocket.
- Foamtastic Dimension: Cut strips of foam adhesive and adhere them around the inner border of the remaining cardstock window (the one with the complete rectangle). This creates a small gap between the window and the card front, allowing the confetti to move freely.
- Confetti Time! Carefully pour your confetti mix into the center of the card, within the area defined by
And there you have it! With a little creativity and some leftover scraps, you’ve crafted a delightful DIY Birthday shaker card that’s sure to impress. Stay tuned for the next part of the tutorial, where we’ll discuss how to seal your shaker card and add any finishing touches you desire!
This blog post may contain affiliate links. This means that if you click on a link and make a purchase, I may receive a commission at no additional cost to you. However, all of the products I recommend are ones that I have personally used and loved.

