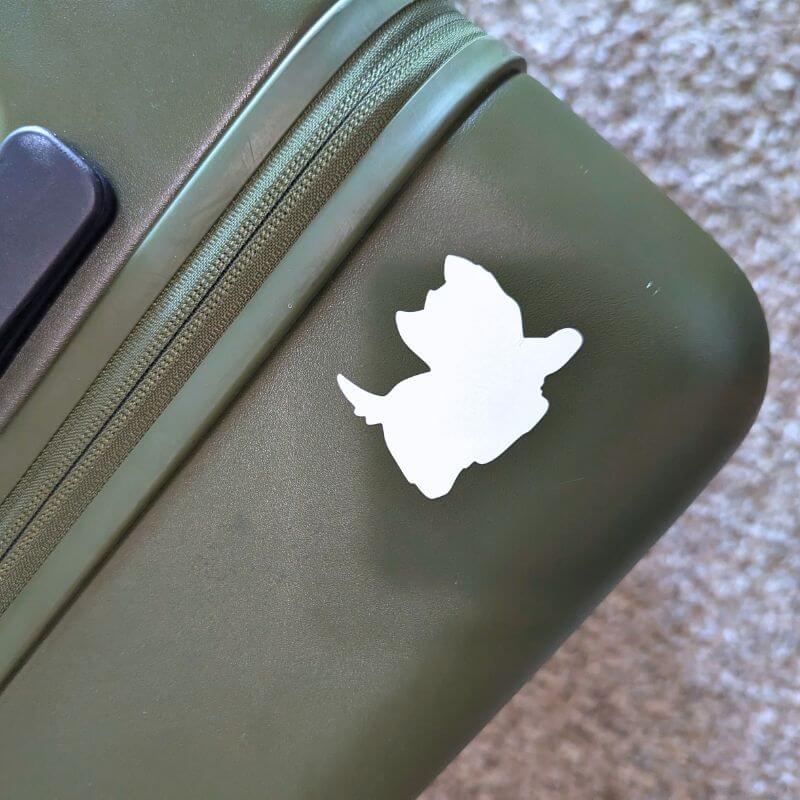
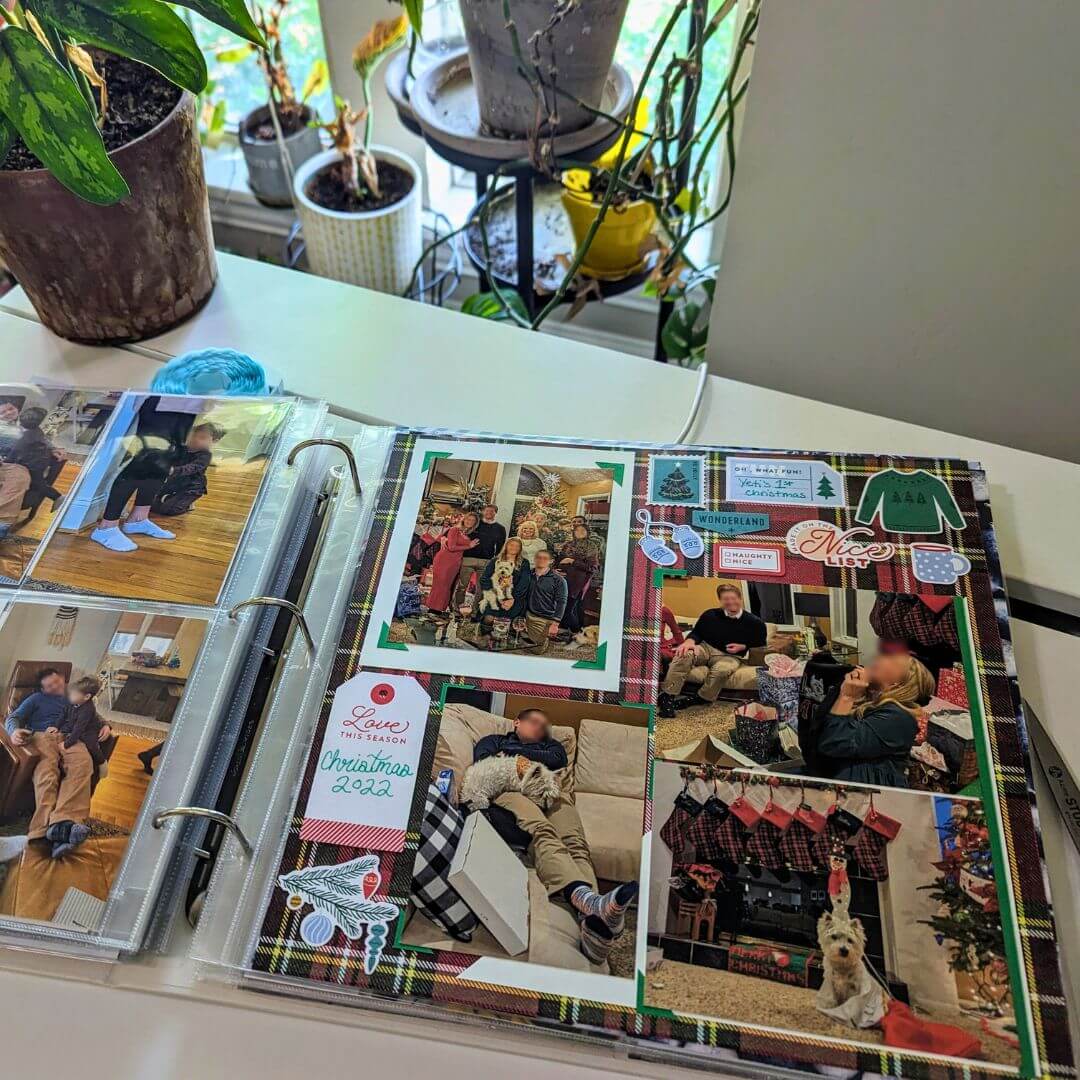
Transforming your creative designs into tangible pieces of art is easier than ever with Cricut vinyl decals. Whether you’re a seasoned crafter or a DIY enthusiast, applying these versatile decals can elevate your projects to new heights. This step-by-step guide will walk you through the process, from cutting your design to the final reveal, ensuring a seamless and professional finish. Let’s dive in and unleash your creativity!
Step 1: Cut Your Design
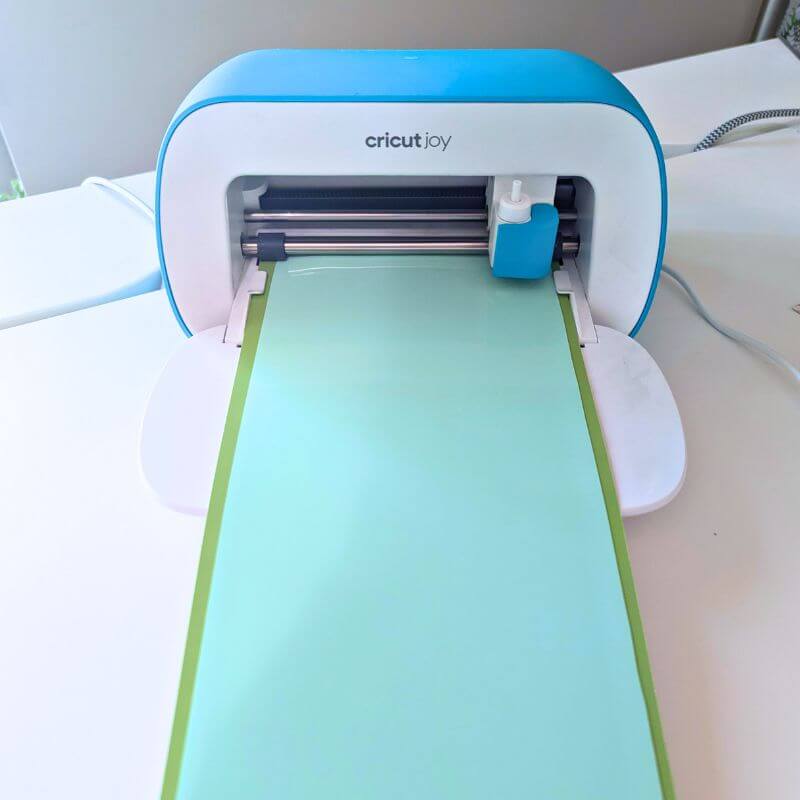
- Load your Cricut machine with your vinyl, colored side up, and adhere it to the sticky mat.
- Cut out your desired design using your machine’s software.
Step 2: Remove Excess Vinyl
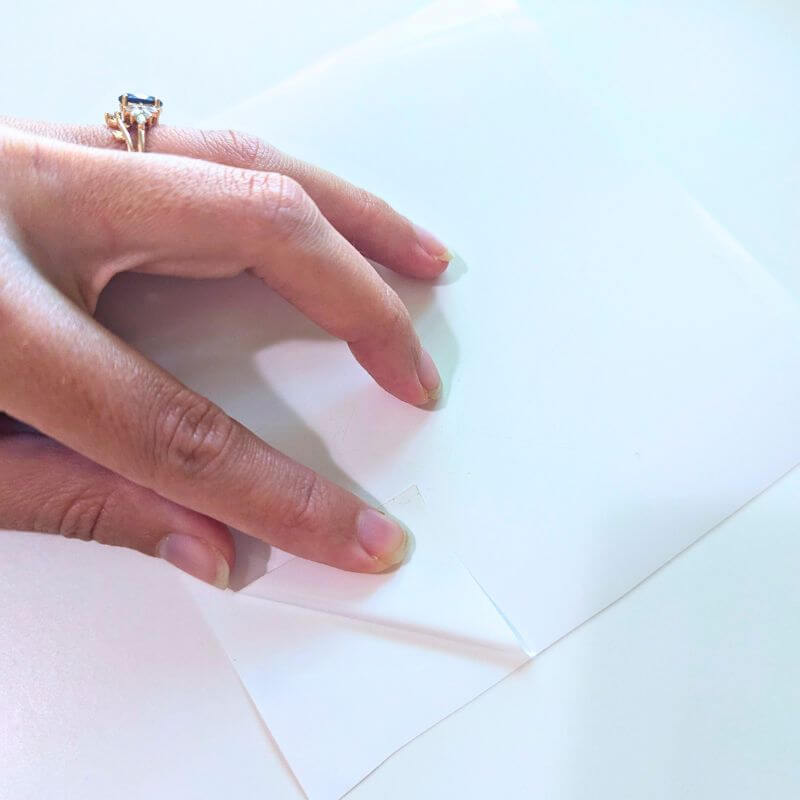
- Now it’s time to clean up your design! Carefully remove the extra vinyl that didn’t get cut by your Cricut. This is where a little trick comes in handy.
Pro Tip: Vinyl loves to stick to flat surfaces. To avoid it sticking to itself, gently bend the excess vinyl while keeping the part with your design flat. This will help prevent the vinyl from folding over and ruining your hard work.
Step 3: Weed Your Design
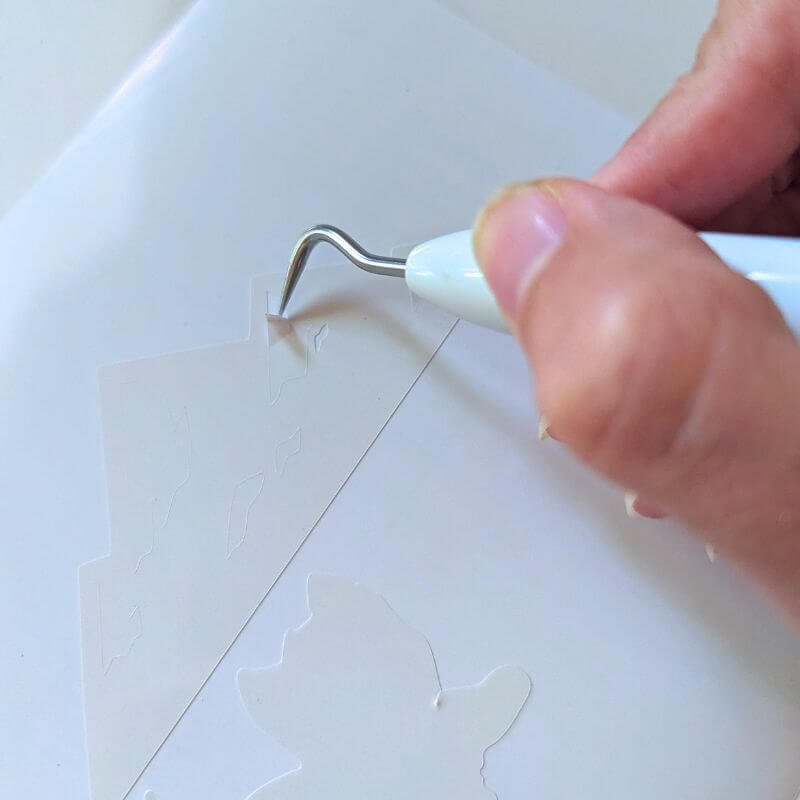
- Remove any unwanted vinyl pieces from within the design.
- Use a Cricut weeder or a similar tool to gently pick at the material until it pops up.
Step 4: Apply Transfer Tape
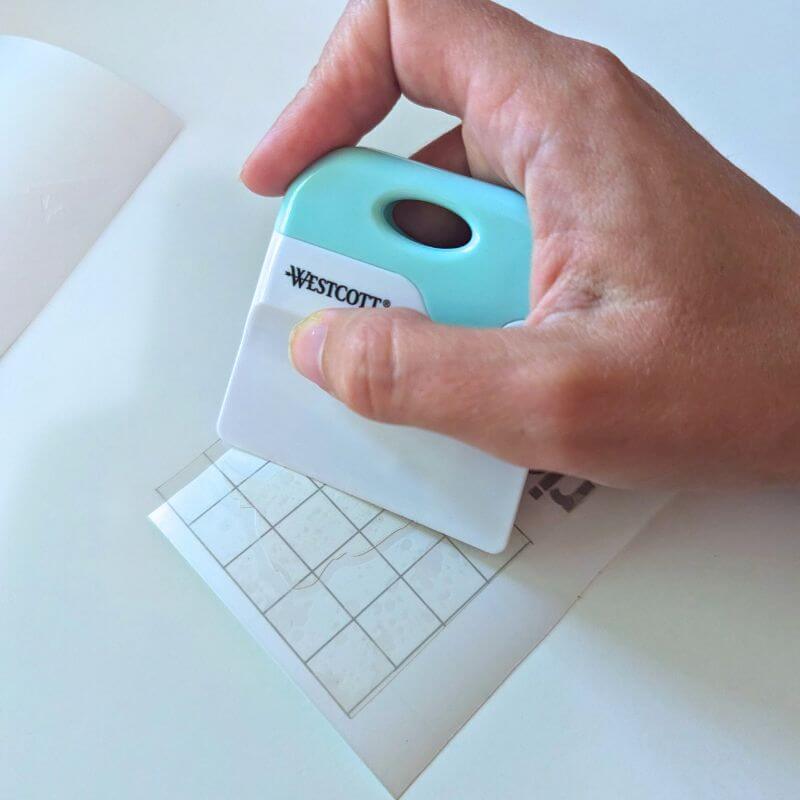
- Carefully place the transfer tape over your weeded vinyl, making sure it covers the entire design.
- To ensure a strong bond between the vinyl and the transfer tape, use a smoothing tool to firmly rub over the entire surface.
- If you don’t have a smoothing tool, a credit card works just as well. This will help remove any air bubbles and create a secure hold.
Step 5: Remove the Backing (for Pre-Made Decals)
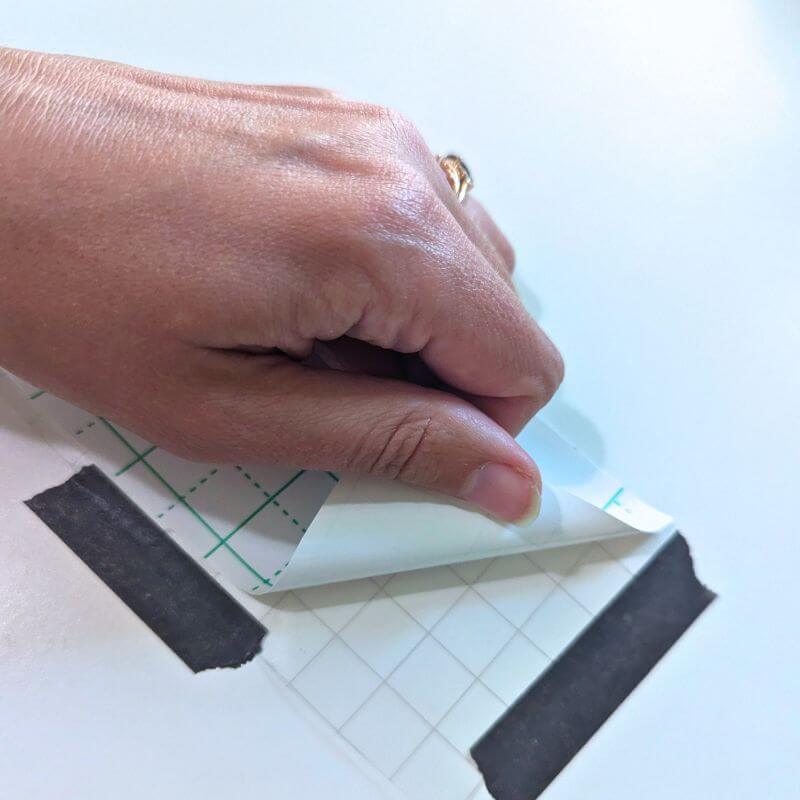
- If you purchased a pre-made decal, your design will already be attached to a clear transfer tape. Your next step is to remove the paper backing to expose the sticky side of the transfer tape.
- Remember that vinyl sticks to flat surfaces. To make this process easier, lay your decal face down on a flat surface.
- Carefully peel back the paper backing, keeping the transfer tape side flat.
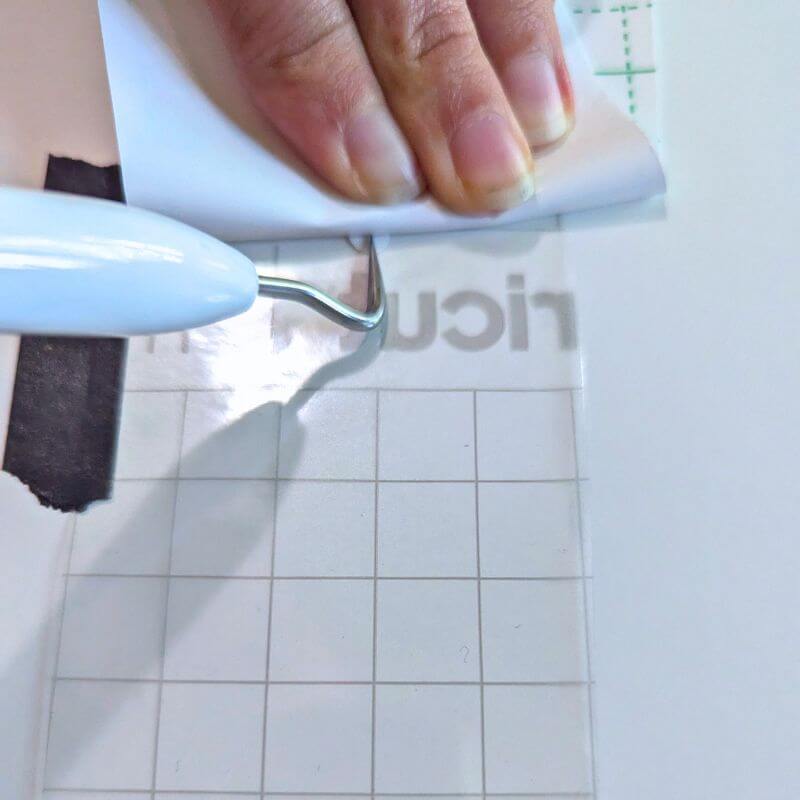
- It might be helpful to do this slowly, as some parts of the design may still be stuck to the backing. If this happens, gently use your fingers or a weeding tool to release the design from the backing and adhere it to the transfer tape.
Step 6: Position & Stick Your Decal
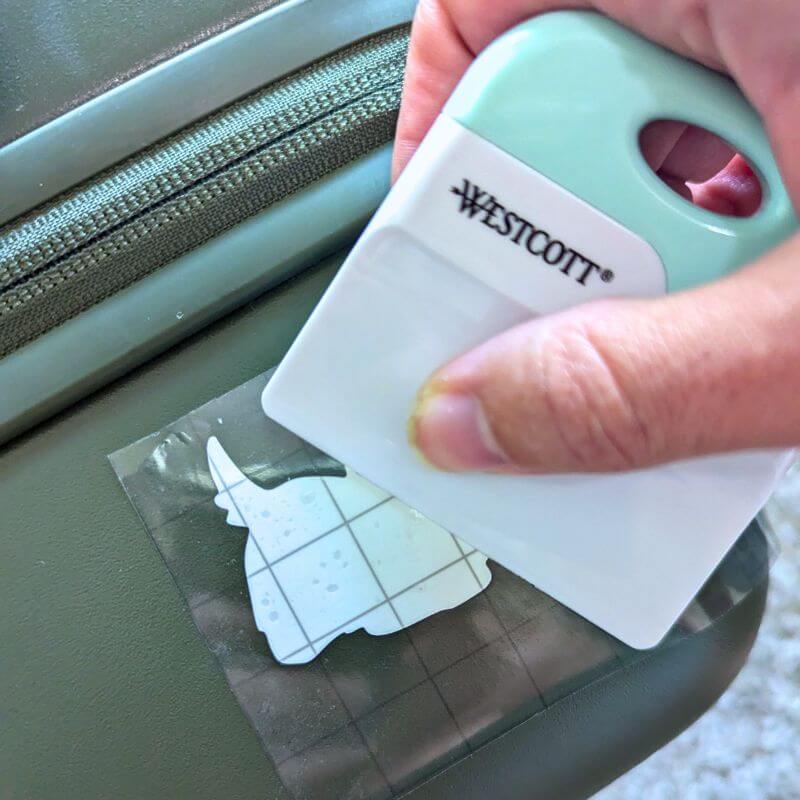
- It’s time to place your decal! Carefully position the transfer tape with your design facing down on your desired surface.
- A helpful tip is to align one edge of the transfer tape first, as it’s easier to adjust than the vinyl itself.
- Once you’re happy with the placement, gently lower the entire decal onto the surface.
- Smooth out any air bubbles or wrinkles with your fingers or a smoothing tool.
Step 7: Reveal Your Design
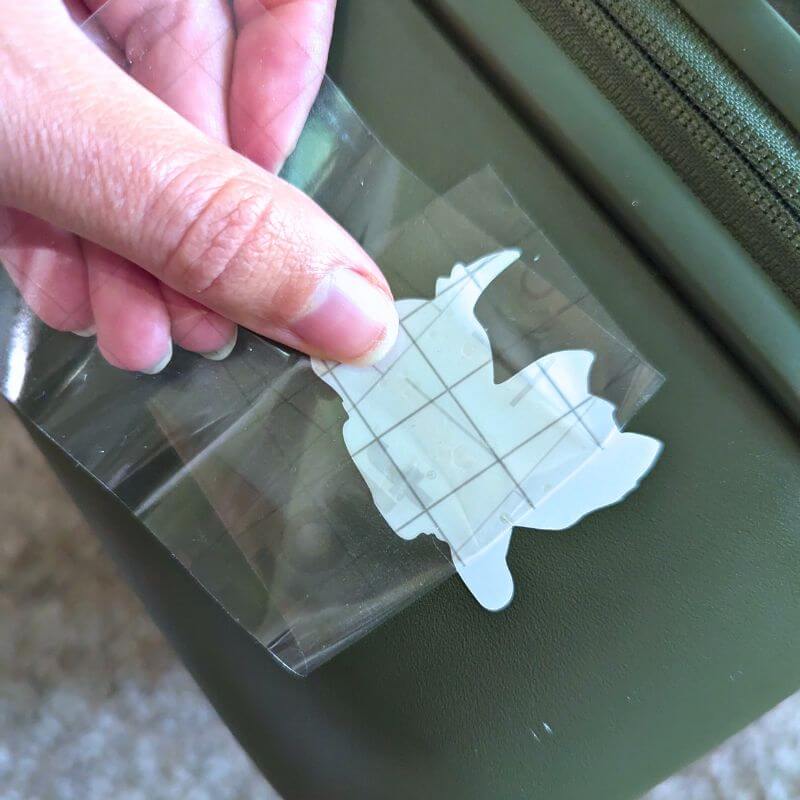
The final step! Carefully peel back the transfer tape, starting from a corner. Gently pull the tape at a low angle, ensuring the vinyl stays firmly in place on your surface. If any parts of the vinyl lift, gently press them back down before continuing to remove the transfer tape.
